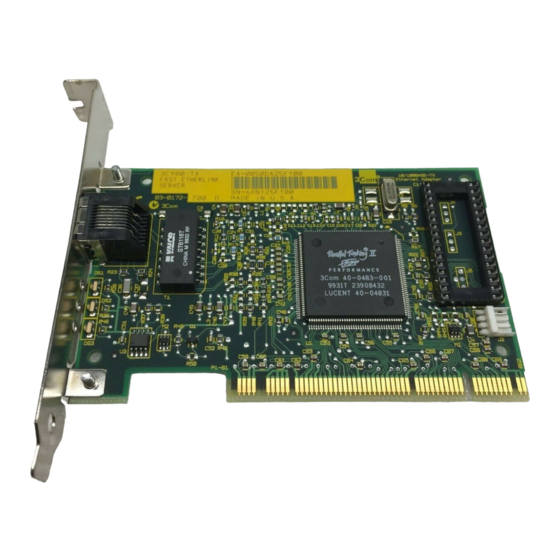
3Com EtherLink XL 100 Quick Manual - Page 7
Browse online or download pdf Quick Manual for Network Card 3Com EtherLink XL 100. 3Com EtherLink XL 100 8 pages. Network interface cards
3 Select Search for the best driver for your device
(Recommended), and then click Next.
4 Select Floppy disk drives, and then click Next.
Windows finds the driver file for the device.
5 Click Next.
Files are copied.
If the Insert Disk dialog box appears, prompting you to
insert EtherDisk diskette 1, click OK.
You are prompted for EtherDisk diskette 2.
6 Remove EtherDisk diskette 1 from drive A, insert
EtherDisk diskette 2, and then click OK.
Files are copied. You are prompted for the Windows 98 CD.
7 Insert the Windows 98 CD or diskette, and then
click OK.
If the Windows 98 installation files are on your hard drive,
click OK. Enter the directory in the Copy files from entry box
(usually C:\WINDOWS\OPTIONS\CABS), and then click OK.
Files are copied. The installation is complete when you are
prompted to click Finish.
8 Click Finish.
You are prompted to restart the PC.
9 Remove EtherDisk diskette 2 from drive A, and then
click Yes to restart the PC.
You must reboot the PC to complete the installation.
The installation is complete. See the next section,
"Verifying Successful Installation," to confirm that the
NIC is properly installed.
After Windows restarts, double-click the Network icon
in the Windows Control Panel and make sure that the
configuration settings are properly configured for your
network environment. Contact your system administrator
for assistance.
Installing the Driver and Software
7