Ariston STI 210 INDIRECT Instructions For Installation Manual - Page 19
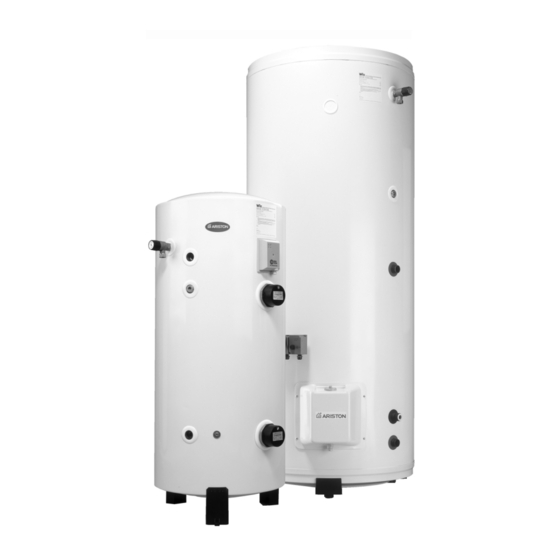
Browse online or download pdf Instructions For Installation Manual for Boiler Ariston STI 210 INDIRECT. Ariston STI 210 INDIRECT 24 pages. Unvented hot water storage cylinders
Also for Ariston STI 210 INDIRECT: User Manual (16 pages), Installation Instructions Manual (20 pages)
4.
MAINTENANCE
4.1
M
AGNESIUM
A
-
NTI
CORROSION
4.2
P
T
RO
ECH
A
-
NTI
CORROSION
To ensure efficient safe operation, it is recommended that the appliance is
serviced annually by a competent person.
After servicing, preliminary electrical system checks must be carried out to
ensure electrical safety (i.e. polarity, earth continuity, resistance to earth and
short circuit).
No longer than every 12 months, the installer should check the magnesium
anti-corrosion anodes (consult the label on the face of the unit for the correct
A
NODES
location). Assessment of the condition of the bottom anode (where fitted)
can be made by judging the condition of the top anode.
Removal of anodes;
1) Close the mains supply service valve;
2) Open hot water taps;
3) Attach a hose and open the drain cock and allow the cylinder to empty;
4) The anodes are removed by unscrewing (for Wall-hung models the
anodes are mounted on the immersion heater plate);
EXAMINE THE ANODES AND REPLACE IF THE DIAMETER IS LESS
THAN 10mm.
The use of P.T.F.E. sealing tape is recommended to ensure watertight
connection for anodes.
WARNING: SWITCH OFF THE POWER SUPPLY BEFORE WORKING ON
THE APPLIANCE.
S
YSTEM
Trouble-shooting:
1) The green L.E.D. is NOT on:
- Check to see that the circuits electric plug is connected (if not,
connect);
- Check to see that the P.C.B, is supplied with electricity (if not, replace
the supply cable);
- Check to see that 230 V electricity is supplied (if not, ensure that 230 V
is supplied);
- If all these checks fail to locate the problem, replace the electronic
circuit (installer).
2) The red L.E.D. is on:
- Check to see that the tank is filled with water (if not, fill it before
carrying out the following checks);
- Check to see that the clip-on circuit connector is in the proper position
(if not, position correctly);
- Check to see that the electrodes connection lead is property connected
(to check this, gently pull on it) (if not, replace the electrode);
- Check to see that the connection lead to the tank is properly connected
to the tank (if not, connect properly); .
- Check to see that the two leads from the clip-on circuit connector are
not damaged, stripped, etc. (if so, replace the electrode);
- If all these checks fail to locate the problem, replace the electronic
circuit.
N
: To replace the P.C.B, there is no need to drain the cylinder;
OTE
1) Disconnect the two supply cables from the P.C.B. to the supply terminal;
2) Disconnect the clip-on circuit connector and polarising slot which
connects the circuit to the tank and the electrode;
3) Disconnect the P.C.B. from its supporting plate (plastic clips in the 4
corners) and;
4) Replace the defective circuit with a new one, then re-install in reverse
order to the above.
19