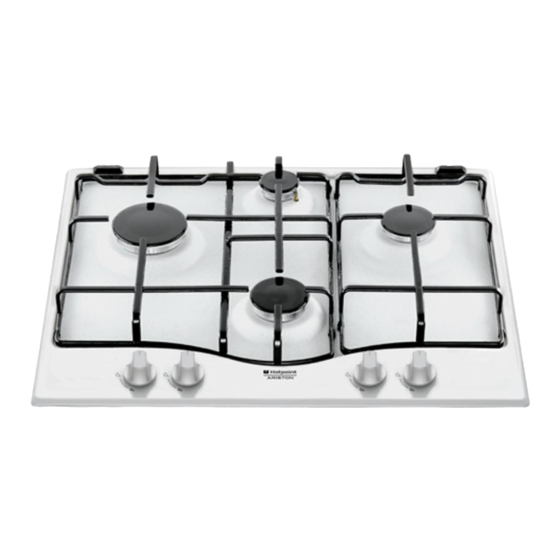
Ariston PC 640 N T X AUS Operating Instructions Manual - Page 4
Browse online or download pdf Operating Instructions Manual for Hob Ariston PC 640 N T X AUS. Ariston PC 640 N T X AUS 36 pages.

Electrical connection
AUS
Hobs equipped with a three-pole power supply cable are
designed to operate with alternating current at the voltage
and frequency indicated on the data plate (this is located
on the lower part of the appliance). The earth wire in the
cable has a green and yellow cover. If the appliance is to
be installed above a built-in electric oven, the electrical
connection of the hob and the oven must be carried out
separately, both for electrical safety purposes and to
make extracting the oven easier.
Connecting the supply cable to the mains
Install a standardised plug corresponding to the load
indicated on the data plate.
The appliance must be directly connected to the mains
using an omnipolar circuit-breaker with a minimum contact
opening of 3 mm installed between the appliance and the
mains. The circuit-breaker must be suitable for the charge
indicated and must comply with current electrical
regulations (the earthing wire must not be interrupted by the
circuit-breaker). The supply cable must not come into
contact with surfaces with temperatures higher than 50°C.
! The installer must ensure that the correct electrical
connection has been made and that it is compliant with
safety regulations.
Before connecting to the power supply, make sure that:
• The appliance is earthed and the plug is compliant with
the law.
• The socket can withstand the maximum power of the
appliance, which is indicated on the data plate.
• The voltage is in the range between the values
indicated on the data plate.
• The socket is compatible with the plug of the
appliance. If the socket is incompatible with the plug,
ask an authorised technician to replace it. Do not use
extension cords or multiple sockets.
! Once the appliance has been installed, the power supply
cable and the electrical socket must be easily accessible.
! The cable must not be bent or compressed.
! The cable must be checked regularly and replaced by
authorised technicians only ( see Assistance ).
! The manufacturer declines any liability should these
safety measures not be observed.
Gas connection
Check The Gas Type
! Before installation, check that the gas type (natural
gas or Universal LPG) of the cooker is suitable for
the gas type available to the installation. It is
extremely dangerous to use the wrong gas type with
any appliance, as fire or serious injury can result.
4
This cooker is supplied from the factory already set
for Natural Gas. To convert the cooker to LPG (or
back to Natural Gas from LPG), follow the directions
later in this section.
Fit regulator supplied for Natural Gas (if applicable)
at rear of appliance, and as close as practicable to
the appliance.
It is recommended that an isolating valve and union
be fitted, to enable simple disconnection for
servicing. These are to be in an accessible location.
! Check that the pressure of the gas supply is consistent
with the values indicated in Table 1 ("Burner and nozzle
specifications"). This will ensure the safe operation and
longevity of your appliance while maintaining efficient
energy consumption.
Pipe or Hose Connection
This appliance is suitable for use with either a
flexible connection or rigid copper connection.
Either a rigid metal pipe with fittings in compliance
with the standards in force must be used for
connecting to the nipple union (threaded ½"G male
fitting) situated at the rear of the appliance to the
right (fig.8), or an approved flexible hose of class B
or D.
Should it be necessary to turn the fitting, the gasket
(supplied with the appliance) must be replaced.
If a flexible hose is used, it should be as short as
possible with a maximum length of 1.2 metres;
• The flexible connection must be approved to
class B or D of AS/NZS1869 as a minimum.
• it should not be bent, kinked or compressed;
• it should not be in contact with the rear wall of the
appliance or in any case with parts which may
reach a temperature of 50°C;
• it should not come into contact with pointed parts
or sharp corners;
• it should not be subject to any pulling or twisting
forces;
• it should be easy to inspect along its entire length
in order to be able to check its condition.
• The supply connection point must be accessible
with the appliance installed.
• The inner diameters of the pipe are as follows:
8 mm for LPG;
13 mm for Natural Gas.
Checking the tightness of the connection
Upon completion of installation, check the gas
circuit, the internal connections and the taps for
leaks using a soapy solution (never a flame). Also
check that the connecting pipe cannot come into
contact with moving parts which could damage or
crush it. Make sure that the natural gas pipe is
