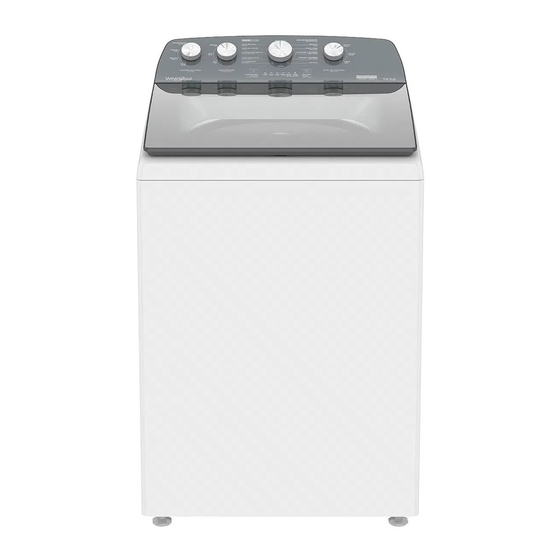
Whirlpool 8MWTW2024 Use And Care Manual - Page 32
Browse online or download pdf Use And Care Manual for Washer Whirlpool 8MWTW2024. Whirlpool 8MWTW2024 41 pages. Top-loading high efficiency washer
Also for Whirlpool 8MWTW2024: Use And Care Manual (44 pages)

TROUBLESHOOTING
PROBLEM
The washer does not
turn on. (It does nothing)
Washer is not filling water.
The washer drains water
from tub and cancels cycle.
The washer is not filling
water at the requested level
for the clothes load.
When filling manually, the
washer drains the water
when pressing START/
PAUSE.
(IT DOES NOT APPLY FOR
MODELS WITH MANUAL FILL)
The washer is not working,
(slow agitation) and it
enters in a pause with no
activity.
The washer last a lot of time to
wash or rinse several times.
The washer does not spin.
32
POSSIBLE CAUSE
a) There is no power.
b) START/PAUSE button was not pressed
when closing lid.
a) There is not enough pressure in the water
supply.
b) Washer filters are plugged.
c) The lid is open.
d) The washer is in the detection phase.
e) "Manual Fill" option is selected.
a) The washer has the lid open.
b) The drain hose is located near the floor.
c) The lid was lifted once the cycle started and
the button START/PAUSE was not pressed
when closing the lid.
a) The washer is starting phase 1 of the Xpert
cycle.
b) Water level does not match with the SMART
LOAD indicator.
c) Load was wet before the AUTO LEVEL
phase.
d) Xpert cycle "Water Saver" is selected.
"AUTO" option is selected in the Load
Size knob and manual filling was done
before pressing START/PAUSE.
a)The washer is in the "Heavy with Soak"
cycle or in the "Soak" manual cycle.
b)The washer is in the detection phase
(AUTO LEVEL).
c)The washer is in the "Delicates" cycle.
d)The washer has an overload of clothes.
a) Clothes load may be unbalanced.
b) Soap used generates a lot of foam.
a) Clothes load may be unbalanced.
b) Your washer is not well leveled.
SOLUTION
a) Check if there is electricity at home and if the outlet of
your washer has power.
b) Press the START/PAUSE button each time you lift and
close the lid.
a) Check if there is water in the supply that provides water to the
house.
b) Clean your washer filters (in some locations water comes
with solid particles so filters must be cleaned at least once a
month)
c) Be sure the lid is closed for an optimal detection.
d) Wait until the washer finishes the detection phase
(approximately 1 minute).
e) "Manual Fill" option is used to fill with an external source
(bucket or hose). If you require that the filling becomes
automatic you must select a load size (S, M, L).
a) Close the washer's lid when the filling starts (the washer
drains when keeping the lid open for more than 10 min.)
b) Check the drain hose is between 0.9 and 1.2 meters high.
c) You must press the START/PAUSE button each time
the lid is opened and closed.
a) Xpert cycles start the cleaning process with a lower water
level, which is normal, since the washer will fill completely
when reaching phase 3. (See reverse for Xpert cycles).
b) SMART LOAD is only an indicator.
c) For a better detection of load size and optimum operation
of your washer, insert DRY CLOTHES.
d) This cycle is designed for water saving, if you wish use
more water when washing, select another cycle.
To wash with manual filling, first prepare the washer with
clothes and detergent, press the POWER/CANCEL button,
select the cycle, press START/PAUSE button, wait 1 minute
and then proceed to the manual filling. (See reverse for
instructions)
a) If you do not wish to use Soak option, cancel the cycle or
select another cycle.
b) During 1 minute, approximately, the washer will turn until
establishing the load size.
c) This cycle is designed with intermittent pauses for the proper
clothes care.
d) To avoid overloading the washer, check the user manual in
the section "Suggested Loads".
a) Insert garments in an even way around the agitator/
Impeller 3D®.
b) We recommend using detergents for automatic washers
that generate low foam. Follow the manufacturer
instructions.
a) Insert garments in an even way around the agitator.
b) Adjust the levelling legs with the help of a bubble level tool.
