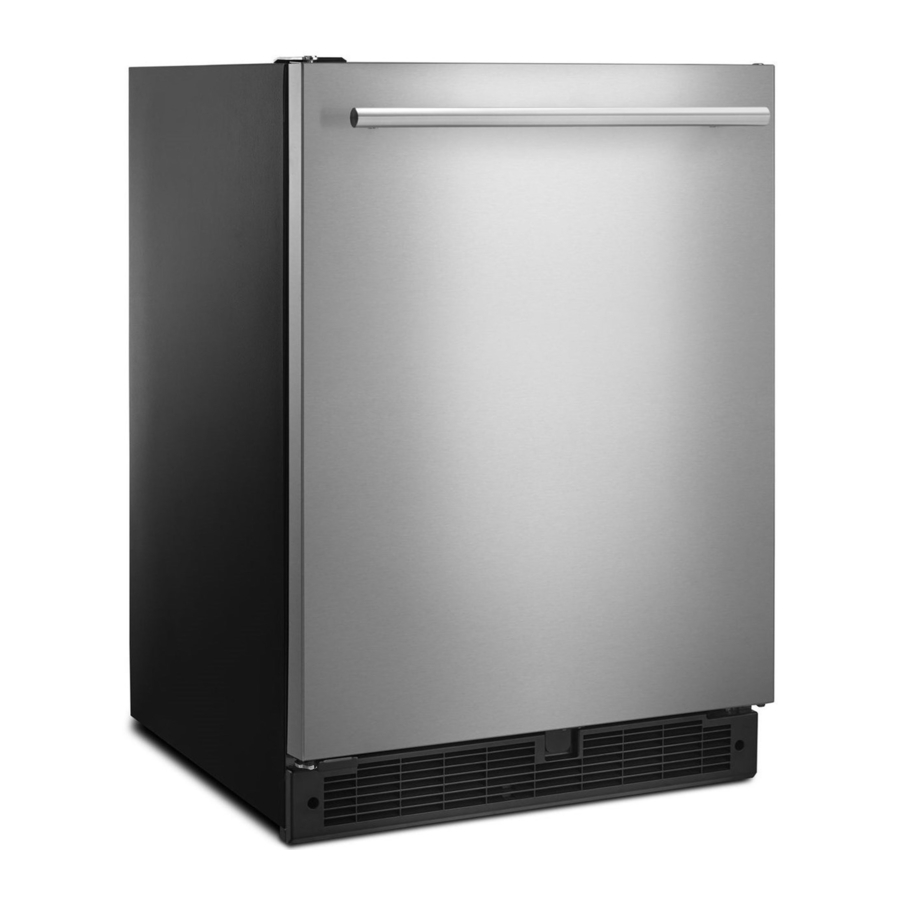
Whirlpool WUR35X24HZ Use & Care Manual - Page 5
Browse online or download pdf Use & Care Manual for Refrigerator Whirlpool WUR35X24HZ. Whirlpool WUR35X24HZ 36 pages. Under counter refrigerator
Also for Whirlpool WUR35X24HZ: Use & Care Manual (36 pages)

Unpack the Refrigerator
Excessive Weight Hazard
Use two or more people to move and install or
uninstall appliance.
Failure to do so can result in back or other injury.
Remove the Packaging
•
Remove tape and glue residue from surfaces before
turning on the Refrigerator. Rub a small amount of liquid
dish soap over the adhesive with your fingers.
Wipe with warm water and dry.
•
Do not use sharp instruments, rubbing alcohol,
flammable fluids, or abrasive cleaners to remove tape or
glue. These products can damage the surface of your
Refrigerator. For more information, see "Refrigerator
Safety".
•
Dispose of/recycle all packaging materials.
When Moving Your Refrigerator:
Your Refrigerator is heavy. When moving the
Refrigerator for cleaning or service, be sure to cover the
floor with cardboard or hardboard to avoid floor
damage. Always pull the Refrigerator straight out when
moving it. Do not wiggle or "walk" the Refrigerator
when trying to move it, as floor damage could occur.
The new chassis has wheels at the back to easily move
the product for longer distances.
Clean Before Using
After you remove all of the package materials, clean the
inside of your Refrigerator before using it. See the
cleaning instructions in "Refrigerator Care".
Important information to know about glass
shelves and covers:
Do not clean glass shelves or covers with warm water
when they are cold. Shelves and covers may break if
exposed to sudden temperature changes or impact,
such as bumping.
Tempered glass is designed to shatter into many small,
pebble-size pieces. This is normal. Glass shelves and
covers are heavy. Use both hands when removing them
to avoid dropping.
Reverse Door Swing (optional)
Tools Needed:
Phillips screwdriver and an 8 mm wrench (or 5/16" in
wrench).
1. Unplug Refrigerator or disconnect power.
2. Using the screw driver, remove the screws from each
side of the top of the Refrigerator cabinet and set aside.
NOTE: There are seven screws total. Do not discard.
3. Remove the top hinge and set aside.
4. Lift the door straight up and off
the bottom hinge.
5. Set door lying flat with gasket facing up.
Door should be placed on a debris free surface
such as cardboard or blanket to avoid scratches.
6. Remove the screws (B) fastening the black metal door
stopper (C) and re-attach it on the opposite side.
BOTTOM VIEW
7. Remove the screws from each side of the kickplate and
set aside.
5
B
C
A
