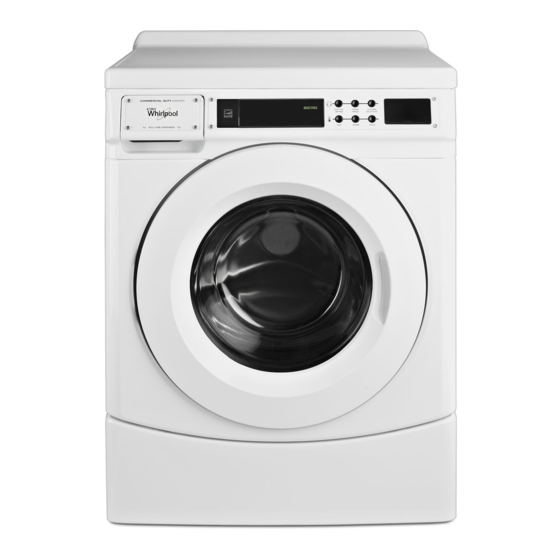
Whirlpool CED9150GW Installation Instructions Manual - Page 7
Browse online or download pdf Installation Instructions Manual for Dryer Whirlpool CED9150GW. Whirlpool CED9150GW 32 pages. Commercial front-load washer

2. Using a ½" wrench, loosen each of the bolts.
3. Once the bolt is loose, move it to the center of the hole
and completely pull out the bolt, including the plastic
spacer covering the bolt.
4. Once all 4 bolts are removed, discard the bolts and spacers.
Push the power cord plug into the opening on the right side
of the rear panel and pull the power cord through the opening
on the left side of the rear panel; then close holes with the
attached cap. Do not pull plug end of power cord through
the right side hole.
5. Close the bolt holes with the 4 transport bolt hole plugs.
NOTE: If the washer is to be transported at a later date, call your
product distributor or installer. To avoid suspension and structural
damage, your washer must be properly set up for relocation
by a trained professional.
Connect the Inlet Hoses
Insert new flat washers (supplied) into each end of the inlet
hoses. Firmly seat the washers in the couplings.
Connect the inlet hoses to water faucets
Make sure the washer drum is empty.
1. Attach a hose to the hot water faucet. Screw on coupling
by hand until it is seated on the washer.
2. Attach a hose to the cold water faucet. Screw on coupling
by hand until it is seated on the washer.
A
B
A. Coupling
B. Washer
3. Using pliers, tighten the couplings with an additional
two-thirds turn.
NOTE: Do not overtighten or use tape or sealants on the valve.
Damage to the valves can result.
Clear water lines
Run water through both faucets and inlet hoses, into
■
a laundry tub, drainpipe, or bucket, to get rid of particles
in the water lines that might clog the inlet valve screens.
Check the temperature of the water to make sure that the
■
hot water hose is connected to the hot water faucet and that
the cold water hose is connected to the cold water faucet.
Connect the inlet hoses to the washer
C. Cold water inlet
H. Hot water inlet
1. Attach the hot water hose to the check valve on washer's
hot (H) water inlet valve. Screw on coupling by hand until
it is seated on the check valve.
2. Attach the cold water hose to the check valve on washer's
cold (C) water inlet valve. Screw on coupling by hand until
it is seated on the check valve.
3. Using pliers, tighten the couplings with an additional
two-thirds turn.
NOTE: Do not overtighten. Damage to the coupling can result.
7
