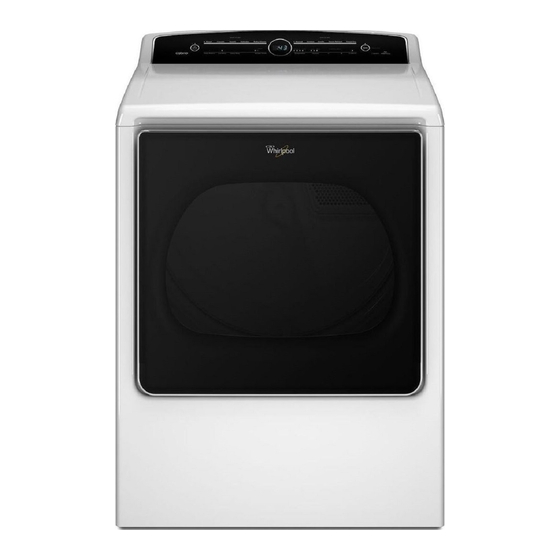
Whirlpool WGD8500DC Installation Instructions Manual - Page 22
Browse online or download pdf Installation Instructions Manual for Dryer Whirlpool WGD8500DC. Whirlpool WGD8500DC 44 pages. Gas and electric
Also for Whirlpool WGD8500DC: Use & Care Manual (40 pages)

REVERSE DOOR SWING
Tools needed:
Flat-blade screwdriver
Min. 8" long TORX T25
® †
screwdriver
You can change your door swing from a right-side opening
to a left-side opening, if desired.
1. Place a towel or soft cloth on top of dryer or work space
to avoid damaging the surface.
Remove door from dryer cabinet
1. Open the dryer door.
2. Using a TORX T25
screwdriver, remove the bottom screw
®
(B) from each of the two hinges that attach dryer door to front
panel of dryer.
3. Using a TORX T25
screwdriver, loosen the top screw (A) from
®
each of the two hinges in Step 2.
4. Remove the dryer door and the hinges by lifting upward and
out to lift the door off the cabinet. Lay the door on a flat,
covered surface, with the inside of the door facing up. Remove
remaining two loose screws from dryer front panel. Set the
hinge screws off to the side for reinstalling the door.
22
Plastic putty knife
#2 Phillips screwdriver
A
B
A
B
5. Remove the 2 plastic plugs (A) located outside the dryer
door opening.
A
A
A
A
6. Install 2 plastic plugs (A) into screw holes where the hinges
were removed in Step 4.
Reverse the strike
1. Remove the door strike (A) from the dryer door opening.
2. Remove the cosmetic screw (B) opposite the door strike (A).
A. Door strike
B. Cosmetic screw
3. Reinstall the door strike and cosmetic screw on the opposite
side of dryer door opening from where they were removed.
NOTE: Door strike and plugs must be on the same side
of the dryer door opening.
® TORX and T25 are registered trademarks of Acument Intellectual Properties, LLC.
†
B
A
