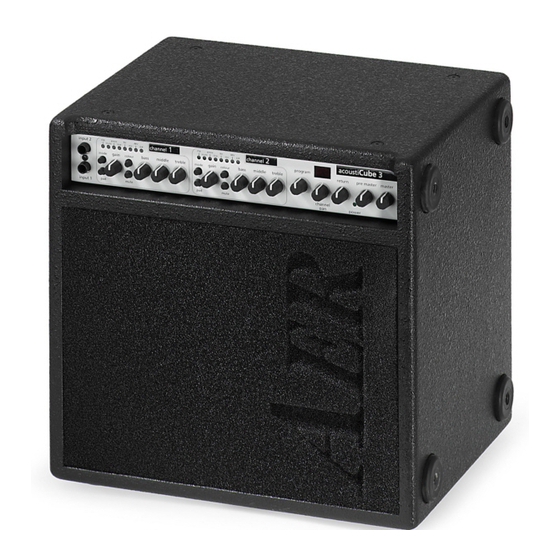
AER acousti Cube 3 Operating Instructions Manual - Page 8
Browse online or download pdf Operating Instructions Manual for Amplifier AER acousti Cube 3. AER acousti Cube 3 17 pages.

acoustiCube 3
4.1 Further Operating Elements
Connections to module, rear (left to right, top to bottom)
record
tuner
sub
L-out
ch1/ch2
phones
line
R-out
master
insert
At the tuner output, a line level is provided. You can connect a
tuner parallel to your instrument without having to reconnect
the instrument or connect the tuner into the signal path.
At the phones output a stereo headphone-amp with max.
2 x 100 mW / 32 Ohms provides you with monitoring possibili-
ties. Here the direct signal of channel 1 and channel 2 are mo-
no, but the effect parts are stereo. The master control serves as
volume control. The power amplifier and the loudspeaker are
not in operation.
The sub output is for the connection with the active auxiliary
AER bass-box SUB12/400A. A special filter system relieves the
loudspeaker system of the acoustiCube 3.
At line out the total output signal is located. Here you can
connect the active stereo extension AER CX8 and adjust the
final volume parallel with the master level.
L–out in connection with the R–out output as pre master total
outputs can be used
a) as parallel monitor paths or
b) for direct connection with an AER PA –system such as
AS281 or AS Q8 in combination with Sub 550D or CX8 in com-
bination with SUB12/400 (pre master function see above).
Record ch 1/ ch 2 bears the unmixed signals of channel 1 + 2,
post EQ, without effect and pre master. Here you have access
to the unmixed channel signals, e.g. for recording purposes.
master insert The insert effect loop is input and output on a
stereo jack for serial looping of effects with
tip = send = output and ring = return = input.
You can also use it for:
1.
one additional line out
2.
the link between two or more AER amps with insert
function (AG8, acoustiCube or Compact Classic or
Domino)
presence
notch
aux
DI
di-pre post
aux in
level
level
effect
1=gnd 2=pos 3=neg
-8-
send
DI
USB
return
master ctrl.
For each function you will need the appropriate cable
connectors.
Example: As line output: stereo jack, tip + ring = hot, sleeve =
mass -> on mono jack.
For special AER link function, see the graphics in chapter 10.
The link function enables all the signals of the amplifiers
connected to be monitored on each amplifier even with diffe-
rent effect settings. The only restriction is that the levels are
interdependent. But in connection with an active speaker sy-
stem (pre master function, see above) you have a complete
PA–system which can be easily handled from the stage.
At the aux in inputs left/ right you can connect a CD/ MD play-
back signal and mix it to the overall signal with the aux level
control. The signal is connected to phones as well as to
L- and R –out.
With the presence control you can influence the tone colour of
the acoustiCube 3 by damping the whole treble range above
4 kHz. Thus you have the possibillity of adjusting your
acoustiCube 3 easily for use with the different instruments
(e.g. violin, classical and steelstring guitar, harmonica, etc.).
As a factory setting, maximum treble reproduction and trans-
parency were adjusted.
The electronic balanced XLR-output di is for the connection
with a mixing desk. Its output signal is the total output signal,
post-EQ. The di-pre post effect switch allows switching the
effects to the di signal. With the di level -control the output le-
vel can be adjusted to the mixing desk.
With the usb connection you can connect the acoustiCube 3
with your PC to change the effect parameters and design your
own effects. Please use the supplied USB A/B cable. For instruc-
tions please read the handbook Manual acoustiCube 3 Soft-
ware.The master control socket is a DIN–multipin–socket.
Here you can connect the Acousticube footswitch with the sup-
plied DIN–cable.
C
made in germany
mic input
effect 2
pan
ser/par
s
p
return
Caution:
Risk of electric shock.
Do not open.
