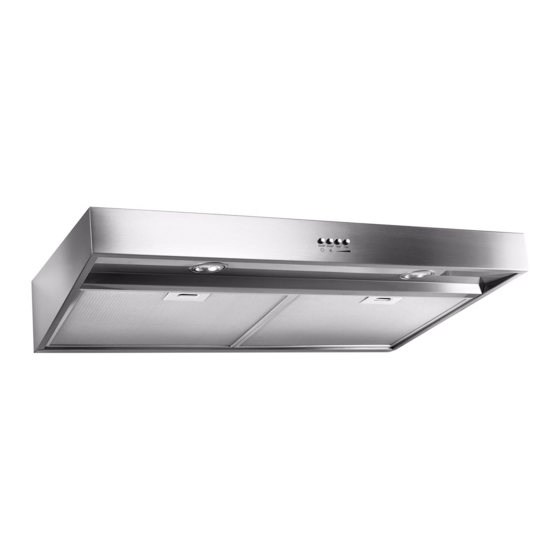
Whirlpool WVU37UC4F Installation Instructions And Use & Care Manual - Page 10
Browse online or download pdf Installation Instructions And Use & Care Manual for Ventilation Hood Whirlpool WVU37UC4F. Whirlpool WVU37UC4F 36 pages. 24" 61 cm range hood
Also for Whirlpool WVU37UC4F: Installation Instructions (2 pages)

Install Vent System
1. Install vent through the vent opening in upper cabinet or wall.
Complete venting system according to the selected venting
method. See the "Venting Requirements" section.
2. Use caulking to seal exterior wall or roof opening around
the cap.
Prepare Range Hood
Only for venting through the top/wall options:
1. Remove vent knockouts, depending on your installation
requirements.
A
B
A. Top rectangular vent knockout
B. Rear rectangular vent knockout
Round vent system installations - Remove top rectangular and
round vent knockouts.
Rectangular vent system installations - For roof installations,
remove the top rectangular vent knockout. For wall installations,
remove the rear rectangular vent knockout.
Non-vent (recirculating) installations - Do not remove any
knockouts.
2. Install 7" (17.8 cm) round vent mounting plate or 3¹⁄
(8.3 cm x 25.4 cm) vent damper, depending on your vent
system installation. Attach to range hood with 3.5 x 9.5 mm
screws provided and remove the tape from the damper flap.
NOTE: An optional 7" (17.8 cm) round damper is also
available as an accessory. For information on ordering,
see the "Accessories" section.
A. 7" (17.8 cm) round damper
(See the "Accessories" section)
B. 3.5 x 9.5 mm screws
C. 7" (17.8 cm) round vent mounting plate
D. Round vent knockout
E. Rectangular vent knockout
10
" x 10"
4
A
B
C
D
E
NOTE: The round vent damper may only be installed on the top
of the product.
A
B
A. 3¼" x 10" (8.3 x 25.4 cm) rectangular vent damper
B. 3.5 x 9.5 mm screws
Only for recirculating options :
For this venting method, it is neccesary to purchase a Charcoal
Filter Kit. See the "Accessories" section for ordering.
1. Remove each filter by pulling the spring-release handle and
then pulling down the filter.
2. Remove the venting method screw from the vented option
with a TORX
T10 screwdriver and set aside.
®
A
A. Venting method screw
B
