Backyard Pro Butcher Series Instruction Manual - Page 3

Browse online or download pdf Instruction Manual for Kitchen Appliances Backyard Pro Butcher Series. Backyard Pro Butcher Series 4 pages. Meat tenderizer motor
Also for Backyard Pro Butcher Series: Instruction Manual (11 pages), Instruction Manual (5 pages), Instruction Manual (5 pages), Instruction Manual (7 pages), Instruction Manual (11 pages), Instruction Manual (6 pages), Instruction Manual (6 pages), Instruction Manual (5 pages), Instruction Manual (4 pages), Instruction Manual (8 pages)
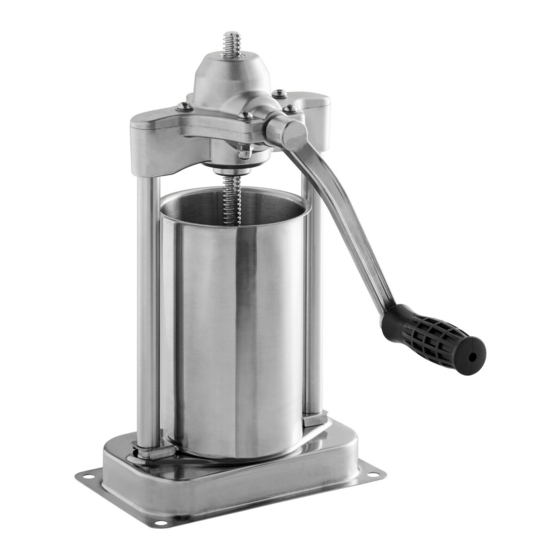
Backyard Pro Butcher Series Instruction Manual
ASSEMBLY INSTRUCTIONS
1. Assemble the Manual Tenderizer per the instructions that
came with the unit.
2. Remove the Handle from the Manual Tenderizer and set
it aside. The Handle will not be used when the motor is
attached.
3. Remove the two Screws and Washers from the handle side
of the Manual Tenderizer (FIGURE 1).
4. Screw the Adapter (part 2) into the Auger Shaft of the
Manual Tenderizer and tighten the Adaptor Set Screw
(FIGURE 2).
5. Align the motor bracket holes with the Motor (part 1), and
using the Short Hex Bolts, Spring and Flat Washers (parts 4,
5, 6) fasten the Motor Bracket (part 3) to the Motor
(FIGURE 3).
6. Align the Motor and Bracket together with the side of the
Tenderizer, then insert the Motor Shaft into the Adapter
(part 2).
7. Once aligned, fasten the Motor and Bracket to the
tenderizer in the preexisting leg screw holes using Long
Hex Head Bolts (part 7) and Flat Washers (part 6). Using the
remaining Short Hex Bolt (part 4) and Flat Washer (part 6),
fasten the Motor Bracket to the lower leg hole (FIGURE 4).
8. The 2-Speed Motor is now fully assembled and ready for
use. Be sure to read and understand the instructions that
came with your tenderizer for safe operation.
Motor
Bracket
FIGURE 3
FIGURE 4
Tenderizer
Tenderizer
Screws &
Screws &
Washers
Washers
FIGURE 1
Set
Screw
Shaft
Adapter
FIGURE 2
3