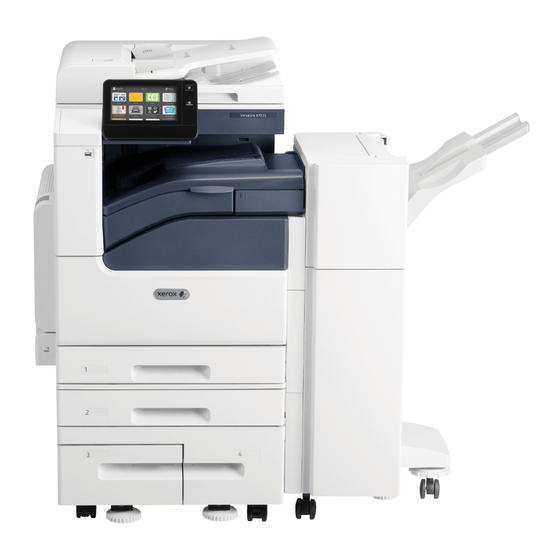
Xerox VersaLink B7025 Maintenance
Browse online or download pdf Maintenance for Printer Xerox VersaLink B7025. Xerox VersaLink B7025 5 pages. Drum cartridge
Also for Xerox VersaLink B7025: Quick Use Manual (20 pages), Manual (6 pages), Quick Start Manual (2 pages), Quick Use Manual (20 pages), Security Function Supplementary Manual (50 pages), Quick Use Manual (20 pages)

Maintenance B7025/30/35 VersaLink NW
When a consumable or cartridge requires replacement, a message appears on the control panel. You
can find directions in the box, User Guide and
Supplies area for consumable information.
NOTE: The Power Wake button re-starts, powers up and down the device.
NOTE: The Fuser and Bias Transfer Roll is only ordered via service call by technician who may order on
determination of need when the error or message occurs. Customers place the call.
How to Replace Toner
1. Open the front door.
2. Place your fingers under the lip of the toner cartridge the
touch screen tells you to replace when it says replace NOW.
Tip: You can check in the Device App to make sure it is less
than 5% left.
3. Remove the new toner from the box and tilt it up and down,
left and right 10 times gently to loosen the toner.
4. Engage the new toner cartridge guides with the slot around
the correct open housing and push it in until it stops.
5. Close the door.
How to Replace the Drum Cartridge
1. Open the clearance door on the left side of the device FIRST! (This releases the Drum from that
side.)
2. Open the front door and remove the drum cartridge from
the device using the unlock lever.
3. Carefully remove the protective shield from the new drum.
Do not touch any shiny surfaces or the hot fuser by the
open clearance door on the left.
4. CAUTION: Do not touch the left side of the Drum Cartridge.
Do not leave the drum exposed to light for more than 5
minutes.
5. Insert the new drum cartridge and return the orange lever
downward to lock the new cartridge in place. You will hear it click into place.
6. The cleaning rod is located below the drum cartridge on the inside of the front door. Shown
above.
7. Insert the cleaning rod into the cleaning hole. Slide the rod as far as it will go then slide it out of
the cleaning hole. Repeat this two more times.
8. Close the door.
CAUTION: Do not expose the drum cartridge to direct sunlight or strong indoor fluorescent lighting.
Do not touch or scratch the surface of the drum.
www.xerox.com/support
Check in the Device App in the
