Xerox 980 Hints And Tips Manual - Page 19
Browse online or download pdf Hints And Tips Manual for Software Xerox 980. Xerox 980 24 pages. Continuous feed printing system

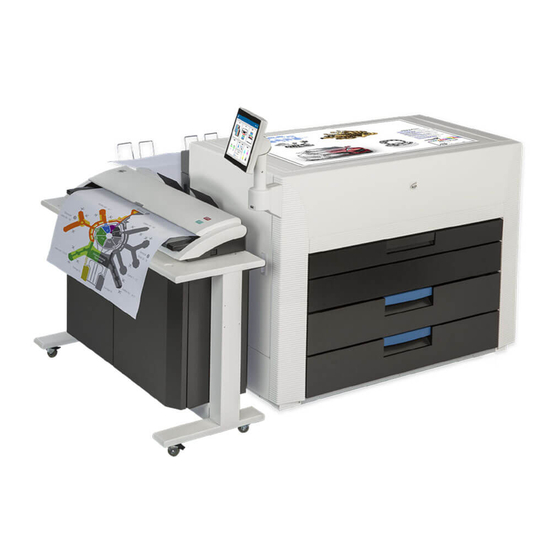
Xerox 490/980 Color Continuous Feed Printing System
Path from Main Menu
Printer Manager/
Consumables/Kit B
(Black) Replace
Printer Manager/
Consumables/Kit B
(Black) Replace
Printer Manager/
Consumables/Kit B
(Black) Replace
Printer Manager/
Consumables/Kit B
(Black) Replace
Printer Manager/
Consumables/Kit B
(Black) Replace
Printer Manager/
Consumables/Transfer
Roller Cleaner (Black)
Replace
Printer Manager/
Consumables/Transfer
Roller Cleaner (Black)
Replace
Printer Manager/
Consumables/Transfer
Roller Cleaner (Black)
Replace
Maintenance/Software/
Software Info
Hints and Tips User Guide
Present
Required Change
Re-number to step 6
8. Hold the Cleaner
Re-number to step 7 and
Blade Knob (d) with
re-write as follows:
your left hand, pull it
7. Pull the Cleaner Bade
slightly frontward, and
Knob (d) slightly forward
remove the knob.
and remove.
9. Wrap up the Cleaner
Re-number to step 8 and
Blade with the collector
re-write as follows:
bag (f). Pull out the bag
8. Insert the Cleaner
to take out the Cleaner
Blade into the collector
Blade into the bag.
bag (f). Pull out the bag
removing the Cleaner
Blade.
10. Attach the knob to
Re-number to Step 9 and
the new Cleaner Blade
re-write as follows:
(b), insert it along the
9. Attach the knob to the
guide, and tighten the
new Cleaner Blade (b) by
thumb nut.
inserting along the guide
and tighten the thumb
nut.
, then cover
Re-number to step 10
and change:
and
door
1: Open the printer 1
Delete "1"
top cover.
1. Open the printer top
cover.
3: Holding the knobs (b),
Step 3: Holding the
slightly move the
handles
Transfer Roller Cleaner
move the Transfer Roller
frontward (1), and then
Cleaner forward (1), and
lift it up (2).
lift up
5. Holding the knobs (b)
Step 5: Holding the
on the new Transfer
handles (b), install the
Roller Cleaner, install it
new Transfer Roller
on the machine (1), (2).
Cleaner in the machine
(1) and push toward the
rear of the machine (2).
Add a line space, and
add a caution symbol
for the following
statement:
not to touch damage the
guide roller on the new
Transfer Roller Cleaner.
Remove LCDS
information
Hints and Tips
Comments
Same change for
all Kit B colors.
Same change for
all Kit B colors.
Same change for
all Kit B colors.
Same changes for
all Kit B colors
Same change for
all Kit B colors
Same change for
(b), slightly
all Transfer Roller
Cleaner colors.
(2).
Same change for
all Transfer Roller
Cleaner colors.
Be careful
1-15
