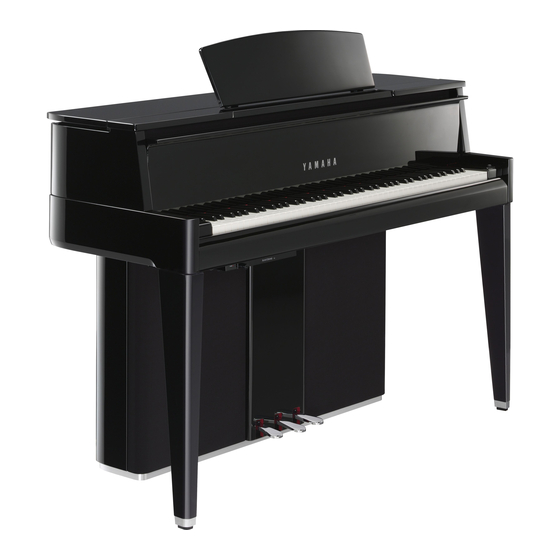
Yamaha AvantGard N2 Maintenance Handbook - Page 33
Browse online or download pdf Maintenance Handbook for Musical Instrument Yamaha AvantGard N2. Yamaha AvantGard N2 45 pages. Hybrid piano

N3 TOP BOARD (F) ASSEMBLY-REPLACEMENT PROCEDURE
1. Required items for task
Service personnel shall possess the physical strength needed to replace the top board in a grand piano.
To ensure safety, 2 or more persons shall perform this task.
2. Required parts
The task requires the usual tools, the top board (F) assembly dedicated service part (ZE082300), and the top board
(F) adjuster part set (ZE082400). The following parts are included in the top board (F) adjuster part set.
• Fall board rubber buttons A thru C (H=3.5/4.5/5.5mm) 2 pieces each
3. Replacement procedure
3-1 Fold the top board (F), and remove the screws on the top board (F) side of the long hinge that clamp the top board
(B) and top board (F).
• Fold the top board (F) as shown below, and remove the 21 truss screws in the red-framed section (A) in the
photo.
3-2 Dismantle the top board (F) and remove from the main unit. (Fig. 1)
3-3 Mount the top board (F) assembly dedicated service part (ZE082300) over the top board (B) so that the attached
top board (F) fi ts over it.
3-4 Adjust left and right so that there is no dimensional difference between the top board (F) and top board (B) edges
as aligned along the dotted yellow line (B). (Fig. 1)
3-5 Align the long hinge on the top board (B), with the top board (F) assembly dedicated service part. Adjust the
height difference between the top board (B) assembly and top board (F) assembly dedicated service part by
inserting felt or a similar item in between to match the height of the long hinge.
3-6 Align with the hole positions in the hinge and drill pilot holes at the 21 positions in the top board front assembly
service dedicated part.
3-7 Tighten up 21 truss-head screws on the pilot holes.
Fig. 1 Top board (F) and top board (B) relative positions
A
B
N3
33
