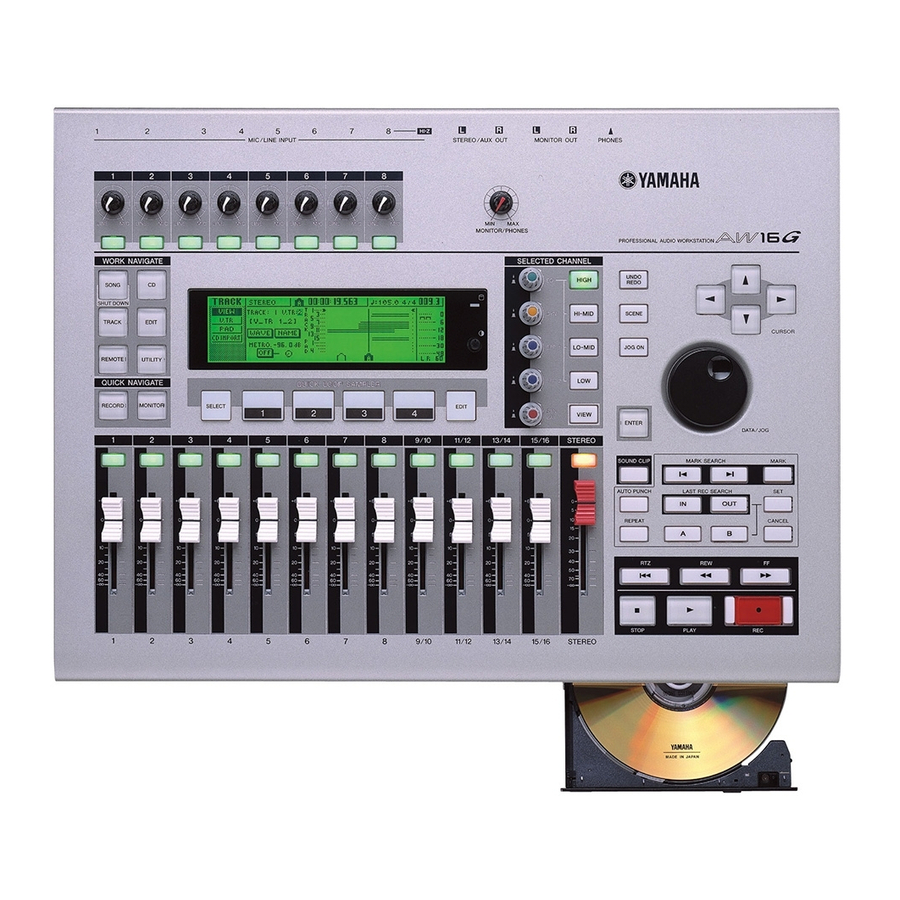
Yamaha AW16G Recording 101 Owner's Manual - Page 12
Browse online or download pdf Owner's Manual for Musical Instrument Yamaha AW16G Recording 101. Yamaha AW16G Recording 101 27 pages. Professional audio workstation

3.
Press the [TRACK SEL] key of the track that you want to record on.
The selected input channel will now be connected to the selected track. Both the
selected [INPUT SEL] key and the selected [TRACK SEL] key will be blinking red and
there will be a line connecting the two on the screen.
there will be a line connecting the two on the screen.
4.
4.
Raise the fader of the track that you are recording on to the 0 mark.
Raise the fader of the track that you are recording on to the 0 mark.
Recording the First Track
Recording the First Track
You are now ready to record. To begin
You are now ready to record. To begin
recording, simultaneously press the [PLAY]
recording, simultaneously press the [PLAY]
and [REC] keys in the transport section. The
and [REC] keys in the transport section. The
[PLAY] and [REC] keys will light up, and the
[PLAY] and [REC] keys will light up, and the
AW16G will begin recording.
AW16G will begin recording.
Punch In/Out
If you make a mistake while recording you can punch-in at the spot that
the mistake was made. To punch-in simply means to start recording again at the
point where the mistake was made. To perform a punch-in, first rewind the
AW16G to a few seconds before the mistake. Next, press the [PLAY] key in the
transport section and when you get to the point where the mistake was made
simultaneously press the [PLAY] and [REC] keys and record over the mistake.
9
