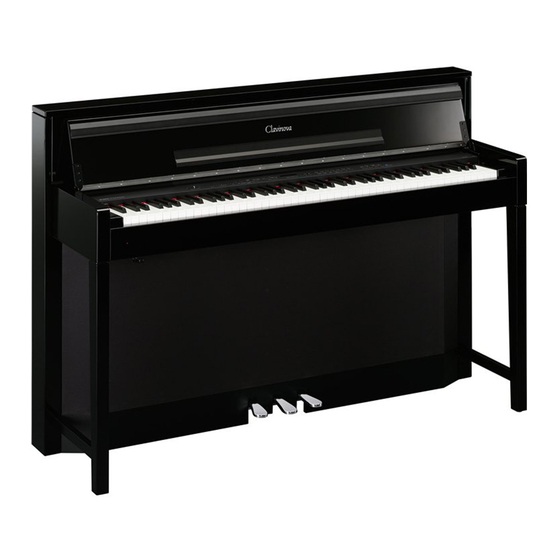
Yamaha Clavinova CLP-S306 Installation Procedure - Page 2
Browse online or download pdf Installation Procedure for Musical Instrument Yamaha Clavinova CLP-S306. Yamaha Clavinova CLP-S306 2 pages. Yamaha clavinova midi data format
Also for Yamaha Clavinova CLP-S306: Midi Data Format (7 pages)

2. The current progress will be displayed on the display during the installation as below.
"0 00"
Checking on the installed data.
"2.CL"
Deleting the ProgramFlash (Program Area #1)
"2.xx"
Writing on the Program #1. "xx" indicates percentages.
"3.CL"
Deleting the ProgramFlash (Program Area #2)
"3.xx"
Writing on the Program #2. "xx" indicates percentages.
"4.CL"
Deleting the ProgramFlash (Program Area #3)
"4.xx"
Writing on the Program #3. "xx" indicates percentages.
3. When the installation is completed, "END" will appear.
4. Remove the USB-Device.
5. Turn off the power switch on the instrument.
Confirming the version number
1) Turn on the power of the instrument.
2) Use the [TEMPO/FUNCTION▼, ▲] buttons to select Function.
*For CLP-370/340 ; Select Function [F9.4].
*For CLP-S308/S306 ; Select Function [F8.4].
3) Press the [+ / YES] button to call up the version number.
4) Check that the version number is correct for the upgrade, and turn off the power of the
instrument.
Troubleshooting
☆ The power supply was cut off or the USB flash memory was removed during operation.
- A complete reinstall is necessary. Perform the operation again from the beginning.
☆ "InS" is blinking when the power is turn on.
- The USB flash memory is not inserted.
☆ Error number (E.xx) appears and the installation cannot be executed.
Check the following:
✓ Is the USB flash memory inserted correctly?
✓ Is the USB connector free from dust or dirt?
✓ Is the USB flash memory or the upgrade data itself damaged in some way?
Try installing it again by using another USB flash memory.
