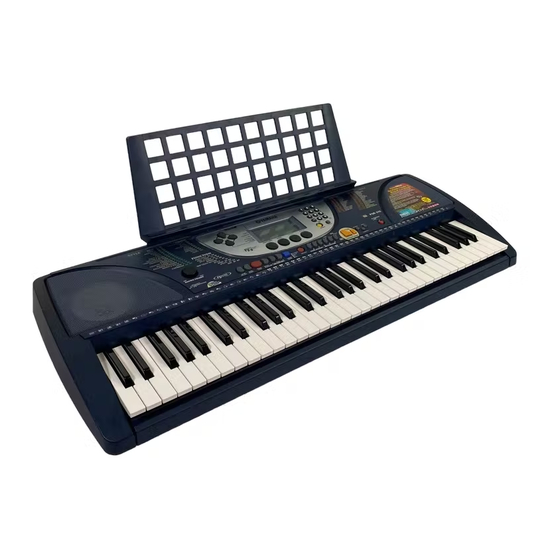
Yamaha PortaTone PSR-270 Service Manual - Page 8
Browse online or download pdf Service Manual for Electronic Keyboard Yamaha PortaTone PSR-270. Yamaha PortaTone PSR-270 33 pages.

PSR-270
5
PSV 3/3 Circuit Board
5-1
Remove the MASTER VOLUME knob on the con-
trol panel. (See Fig. 3.)
5-2
Remove the lower case assembly. (See Procedure 1.)
5-3
Remove the DM circuit board with the shield box.
(See Procedure 2.)
5-4
Remove the three (3) screws marked [320A]. The
PVS 3/3 circuit board can then be removed. (Fig. 4)
6
PVS 2/3 Circuit Board
6-1
Remove the lower case assembly. (See procedure 1.)
6-2
Remove the two (2) screws marked [320B]. The
PSV 2/3 circuit board with the knob can then be
removed. (Fig. 4)
6-3
Pull the knob off the PSV 2/3 circuit board.
7
PVS 1/3 Circuit Board
7-1
Remove the lower case assembly. (See Procedure 1.)
7-2
Remove the DM circuit board with the shield box.
(See Procedure 2.)
7-3
Remove the four (4) screws marked [320C]. The PSV
1/3 circuit board can then be removed. (Fig. 4)
8
[310]: Bind Head Tapping Screw-P 3.0X8 MFZN2Y (EP600250)
[330]: Bind Head Tapping Screw-P 3.0X12 MFZN2Y (EP600300)
[340]: Bind Head Tapping Screw-P 3.0X25 MFZN2Y (VK228100)
(Fig. 2)
8
AMPN 1/2 Circuit Board
8-1
Remove the lower case assembly. (See Procedure 1.)
8-2
Remove the INV circuit board. (See Procedure 3.)
8-3
Remove the PSV 2/3 circuit board. (See Proce-
dure 6.)
8-4
Remove the fifteen (15) screws marked [320D]. The
AMPN 1/2 circuit board can then be removed. (Fig. 4)
9
AMPN 2/2 Circuit Board
9-1
Remove the lower case assembly. (See Procedure 1.)
9-2
Remove the DM circuit board with the shield box.
(See Procedure 2.)
9-3
Remove the eleven (11) screws marked [320E] .
The AMPN 2/2 circuit board can then be removed.
(Fig. 4)
(Fig.3)
