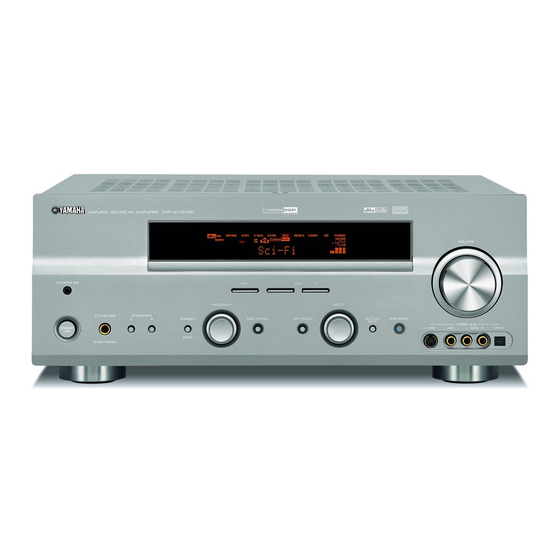
Yamaha DSP-AX757 Service Manual - Page 24
Browse online or download pdf Service Manual for Receiver Yamaha DSP-AX757. Yamaha DSP-AX757 49 pages. Av receiver/av amplifier

RX-V757/DSP-AX757/DSP-AX757SE
RX-V657/HTR-5860
AMP ADJUSTMENT / アンプ部調整
CONFIRMATION OF IDLING CURRENT
1. Immediately after the power is turned on, measure the
voltage across resistor terminals in the column "A" in the
table below and confirm that the measured value is be-
tween 0.1mV and 10.0mV.
2. If the measured voltage exceeds 10.0mV, open (cutoff)
the resistor in the column "B" in the table below and re-
confirm the voltage.
Attention:
If the idling current exceeds 10.0mV after a power ampli-
fier repair, check for a defective component before cut-
ting the resistor.
3. Confirm that the voltage is between 0.2mV and 15.0mV
after 60 minutes.
0.1mV ~ 10.0mV
(DC)
R45 (FRONT L ch)
R46 (FRONT R ch)
R50 (CENTER)
<Position for Adjusting MAIN (1) P.C.B.>
50
P.C.B.
A
MAIN (1) P.C.B.
R45
R46
R50
R47
R48
R49
POWER (1) P.C.B.
R398
0.1mV ~ 10.0mV
(DC)
R47 (SURROUND L ch)
R48 (SURROUND R ch)
R49 (SURROUND BACK R ch)
R398 (SURROUND BACK L ch)
アイドリング電流確認
1. 電源投入直後、 下表のA欄の抵抗の端子間電圧を測定し、
0.1mV ∼ 10.0mV であることを確認してください。
2. 電圧が 10mV を越えている場合は、下表のB欄の抵抗を
カットし、電圧を再確認してください。
注意:パワーアンプ修理後に10.0mVを超えている場合は、 抵抗を
カットする前に故障箇所を調べてください。
3. 60 分後、電圧が 0.2mV ∼ 15.0mV であることを確認して
ください。
CHANNEL
B
FRONT L ch
R38
FRONT R ch
R39
CENTER
R37
SURROUND L ch
R34
SURROUND R ch
R35
SURROUND BACK R ch
R36
SURROUND BACK L ch
R395
Cut off
カット
R38 (FRONT L ch)
R39 (FRONT R ch)
R37 (CENTER)
R34 (SURROUND L ch)
R35 (SURROUND R ch)
R36 (SURROUND BACK R ch)
R395 (SURROUND BACK L ch)
