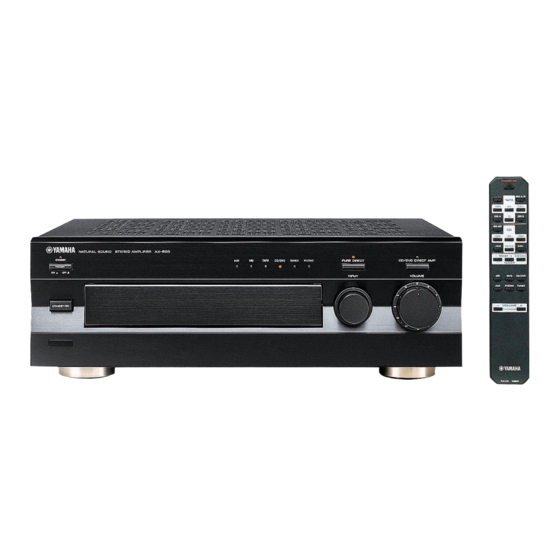
Yamaha AX-596 Service Manual - Page 13
Browse online or download pdf Service Manual for Amplifier Yamaha AX-596. Yamaha AX-596 26 pages. Stereo amplifier
Also for Yamaha AX-596: Owner's Manual (19 pages), Product Catalog (44 pages), Service Manual (26 pages)

A
B
SCHEMATIC DIAGRAM
1
PHONO EQ AMP
12.7
0
0
0
0
0
0
-12.8
2
13.0
13.8
0
0
-0.6
-0.6
0.6
0.6
0
0
-13.6
-13.1
CD BUFFER
-13.0
-13.6
0
3
0
0.6
0.6
-0.6
-0.6
0
0
13.1
13.8
4
CD/DVD DIRECT
AMP OFF
12.9
0
0
0
0
0
0
-13.0
12.9
0
0
0
0
5
0
0
-13.0
12.9
0
0
0
0
6
0
0
-13.0
12.9
0
0
0
0
7
0
0
-13.0
8
PIN CONNECTION DIAGRAM OF TRANSISTORS, DIODES AND ICS.
2SD1915F
2SC1815
2SC1740S
2SA1015
DTC114ES
2SC1890A
DTC144ES
2SA933S
E
C B
9
Downloaded from
www.Manualslib.com
C
D
12.9
13.5
0.1
0.1
-13.0
-13.6
-13.6
-13.0
0.1
0.1
12.9
13.5
CD/DVD DIRECT
AMP ON
0
0.7
0
0
0.7
0
0
0 0
0 0
0
0
0
0
0 0
0 0
0
0
0
0
0
0
0
0
0
0
0
0
0
0
0
0
0
0 0 0
0 0 0
0
0
0 0
0
0
INPUT SELECTOR
2SC4488
DIODES
NJM2068LD
LB1641
NJM4558L
Anode
8
B
Cathode
C
E
E
C
1
1
B
manuals search engine
E
F
11.8
12.4
13.0
SYSTEM
CONTROL
4.8
9.9
0.4
4.9
11.8
9.9
0.7
0.4
MOTOR DRIVER
NJM2068LD / NJM4558LD
LC78211
L1
1
L2
2
L3
3
4
1
2
3
4
5
6
7
8
L4
LCOM1
5
6
L5
L6
7
8
LCOM2
L7
9
LC78211
M34748E8SP
10
L8
LCOM3
11
21
19
V
DD
10
15
16
V
SS
V
12
EE
18
RES
30
42
17
S
1
1
G
H
I
K
4
CD/DVD DIRECT AMP &
PURE DIRECT OFF
To MAIN (1)
see page 17
13.7
0
0
0
VOLUME AMP
0
0
0
-13.8
PROTECTION
14.6
14.5
4.9
4.8
14.6
14.6
0
-0.1
0
0.7
0
5.5
4.9
5.5
13.6
5.5
5.5
6.1
4.8
5.5
5.5
-14.6
6.1
2
0
4.8
0
13.7
13.8
3
0
13.1
0
1.7
7.3
6.6
1.0
0
0.6
0
0
0.6
0.5
RESET
0
0
0
0
14.5
4.4
14.6
13.9
0
4.8
0
0
4.4
4.4
4.8
LB1641
30
R1
29
R2
3
2
8
10
9
7
28
R3
27
R4
26
RCOM1
VZ
25
4
R5
24
R6
23
RCOM2
22
R7
21
R8
20
RCOM3
IN 1
5
INPUT LOGIC
6
IN 2
LEVEL SHIFTER
GND
1
14
ZZ
D1
LATCH
15
ZZ
CL
SHIFT REGISTER
13
ZZ
CE
J
K
AX-596
TONE CONTROL AMP
13.4
0.1
0
0.1
0.1
0
0.1
-14.5
To MAIN (1)
PHONES
see page 17
To/From MAIN (1)
A
B
see page 17
SPEAKERS
14.1
0
0
0
0
0
1
0
-14.2
0
0
-14.6
0
0
MUTING
Point 1 and 2
Emitter of Q322
Base of Q316
4.4
With the POWER switch
Disconnect the power cord
turned ON, connect the
from the AC outlet.
power cord to the AC outlet.
Point 3
Pin 20 of IC308
# All voltage are measured with a 10MΩ /V DC electric volt meter.
# Components having special characteristics are marked s and must be replaced
with parts having specifications equal to those originally installed.
# Schematic diagram is subject to change without notice.
L
G
1
16
