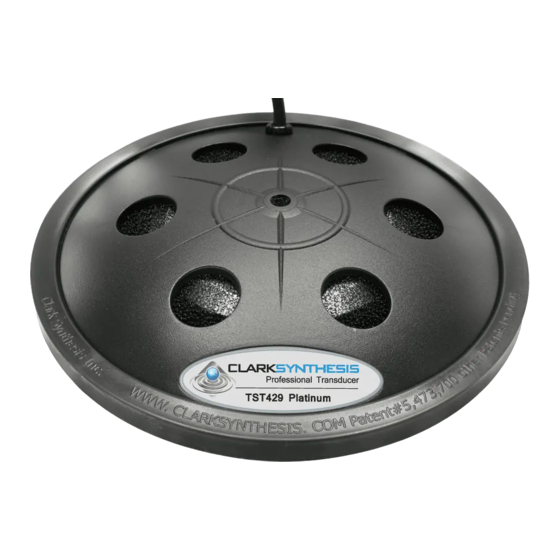
Clark Synthesis TST429 Installation Manual - Page 6
Browse online or download pdf Installation Manual for Amplifier Clark Synthesis TST429. Clark Synthesis TST429 8 pages. Platinum, gold, silver and all weather transducers
Also for Clark Synthesis TST429: Supplementary Manual (4 pages), Installation Manual (1 pages), Buyer's Manual (2 pages), Installation Manual (20 pages), Specification (1 pages), Installation Manual (20 pages)

Installation: Overview
Installation Type: Unimount Bracket
Screws into the bottom of the mounting surface.
Requires access only to the bottom of the mounting
surface. Requires a flat or nearly flat mounting surface.
Min. 4-1/2"
vertical space
required,
including 1/2"
clearance
between the
Transducer
and floor.
3/4"-thick
mounting
surface
Unimount
Bracket
Flat Washer
Lock Washer
Screw
Jam Nut (up)
3/8"-16
Threaded Stud
Jam Nut (down)
Transducer Wire Lead
Washers
Machine Screw
Jam Nuts
tactile sound transducer
5
Installation Type: Hanger Bolt
Screws into the bottom of the mounting surface (into a
5/16" drilled hole). Requires access only to the bottom of
the mounting surface.
Min. 3-1/4" vertical space
required, including 1/2"
clearance between the
Transducer and floor.
Joist
Minimum
(edge view)
3/4"-thick
Drill 5/16" hole
Tip: Tighten
two Jam Nuts
3/8"-16
against each
Hanger Bolt
other to screw
in Hanger Bolt
Jam Nut (down)
using wrench.
NEVER TIGHTEN
BY TURNING THE
TRANSDUCER.
MAKE SURE TO
Transducer Wire Lead
NUT
TIGHTEN THE JAM
NUT AGAINST THE
TRANSDUCER'S
BRASS NUT.
Jam Nut
www.clarksynthesis.com
Installation Type: Hanger Bolt
The AW339-All Weather Transducers are recommended for use
on outdoor installations, including decks, boat docks, etc.
For decks, we recommend using one (1) All Weather Transducer
for every 10 ft. by 10 ft. section of deck. For example, if you have
a deck that measres 10 ft. by 30 ft., we would suggest you install
three (3) Transducers.
For all installations, regardless of the number of Transducers, we
recommend locating the Transducers equidistant from the edges
of the deck and/or from each other. This helps create a more
uniform distribution of the tactile effect.
The easiest installation method is to use the Hanger Bolt to mount
the Transducer(s) to the bottom of the joist(s). Steps for this
installation method can be found on Page 8.
Note: If for some reason it is not possible to mount to the joists,
use a bridge between joists as you would in a floor installation
(see Page 8 for instructions and images for building a bridge).
It is important to make Transducer wire connections as watertight
as possible by using electrical tape and molded plastic connectors.
www.clarksynthesis.com
Installation: Wood Decks
Deck joists 16" - 24" on center
TST mounts directly to bottom of joist using Hanger Bolt
MOUNTING DETAIL
joist
(edge view)
Hanger Bolt
Jam Nut
Tip: Tighten two
Jam Nuts against
each other to
screw in Hanger
Bolt using wrench.
tactile sound transducer
10
