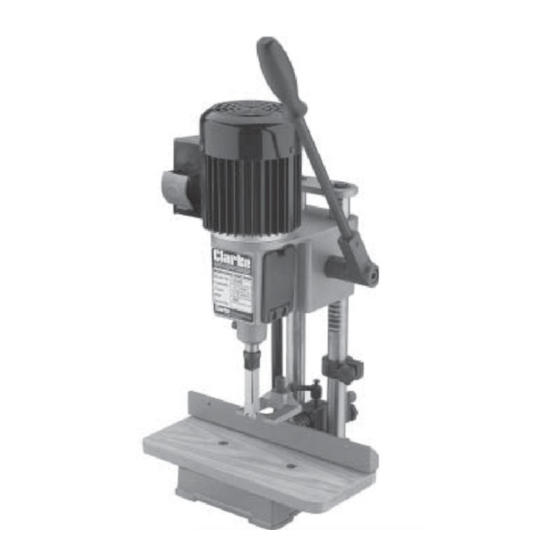
Clarke CBM 2 Operating & Maintenance Instructions - Page 11
Browse online or download pdf Operating & Maintenance Instructions for Power Tool Clarke CBM 2. Clarke CBM 2 14 pages. Mortising machine

in hollow chisel mortising and is caused by material chip friction and the resins in the stock
being burned off. Bluing of the chisel after initial use is not indicative of a dull chisel, but a
combination of friction and resin buildup on the cutting faces of the chisel.
A dull chisel can be detected by the amount of excess force required to complete a cut.
After the first cut, the workpiece must be moved along in the correct direction relative to the
slot in the chisel, to allow chips to clear freely. Move the workpiece so that the chisel slot is
releasing chips into the already cut part of the mortise (see fig. 11). Do not have the slot
against the blind end of the mortise, as the chips will not be able to clear from the chisel. This
will cause overheating and possible breakage to the chisel or bit.
When cutting deep mortises, make the cut in several stages of approximately 25mm each, to
allow chips to clear.
When performing a through mortise, a piece of wood should be placed between the workpiece
and the table. This prevents the wood from splintering when breaking through the bottom of
the mortise and also prevents damage to the table.
Always switch the mortising machine off after use. Never leave the machine running
unattended.
Chisel slot
on left
Move timber in
this direction
MAINTENANCE
WARNING: For your own safety, turn OFF power and disconnect tool from power
source before performing any maintenance.
Periodically clean dust accumulation from the machine. Apply a light coat of paste wax to the
base surface. This will help keep it clean and rust free.
All of the ball bearings are packed with grease at the factory and require no further lubrication.
A light machine or penetrating oil should be used to periodically lubricate necessary points.
Open the cover and apply a light coat of oil on drill bit shaft where it passes through the chisel,
but not on its cutting edge. Also oil rack and pinion gear teeth, column, and pinion shaft.
Fig. 11
12
Chisel slot
on right
Move timber in
this direction
