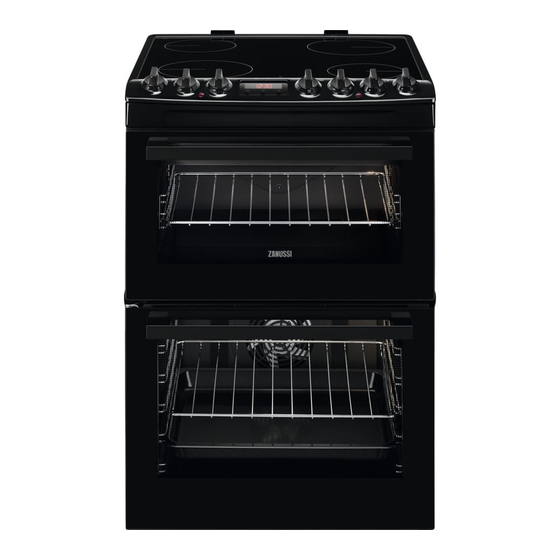
Zanussi ZCV69360WA User Manual - Page 26
Browse online or download pdf User Manual for Cookers Zanussi ZCV69360WA. Zanussi ZCV69360WA 33 pages.
Also for Zanussi ZCV69360WA: User Manual (32 pages)

WARNING! Keep children away when
you clean the oven at a high
temperature. The oven surface
becomes very hot and there is a risk of
burns.
Spots or discolouration of the catalytic
surface have no effect on catalytic
properties.
Before activating the catalytic cleaning
remove all the accessories from the
oven.
The walls with catalytic coating are self-cleaning.
They absorb fat which collects on the walls while
the appliance operates.
To support the self-cleaning procedure, heat the
empty oven on a regular basis.
The oven cavities must be cleaned separately.
Catalytic cleaning works only in the main oven.
1. Clean the oven floor with warm water and
washing-up liquid, then dry it.
2. Set the oven temperature to 250 °C and let the
oven operate for 1 hour.
3. When the appliance is cool, clean it with a soft
and moist sponge.
CLEANING THE CAVITY EMBOSSMENT
The cleaning procedure removes limestone residue
from the cavity embossment after cooking with
steam.
For the function: Plus Steam we
recommend to do the cleaning
procedure at least every 5 - 10
cooking cycles.
1. Put 250 ml of white vinegar into the cavity
embossment at the bottom of the oven.
Use maximum 6% vinegar without any
additives.
2. Let the vinegar dissolve the residual limestone
at the ambient temperature for 30 minutes.
3. Clean the cavity with warm water and a soft
cloth.
REMOVING THE SHELF SUPPORTS
To clean the oven, remove the shelf supports.
1. Pull the front of the shelf support away from the
side wall.
26
2. Pull the rear end of the shelf support away from
the side wall and remove it.
1
Install the shelf supports in the opposite sequence.
CAUTION! Make sure that the longer
fixing wire is in the front. The ends of
the two wires must point to the rear.
Incorrect installation can cause
damage to the enamel.
REMOVING AND CLEANING THE DOOR
GLASSES - TOP OVEN
The door glass in your product can be
different in type and shape from the
examples you see in the image. The
number of glasses can also be
different.
1. Open the door.
2. Hold the door trim on the top edge of the door
at the two sides and push inwards to release
the clip seal.
2
