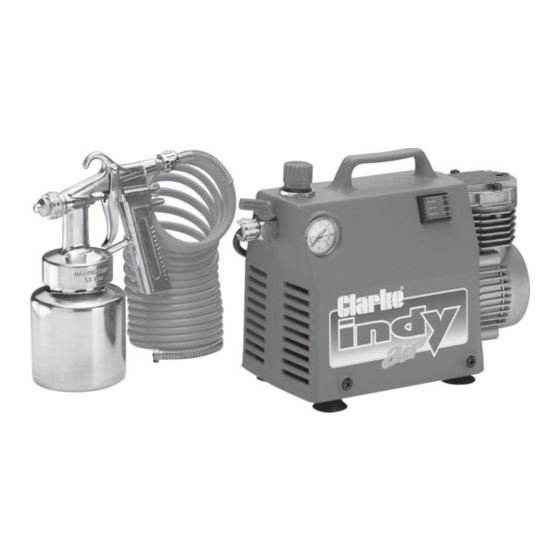
Clarke INDY OIL FREE Operation And Maintenance Instructions - Page 9
Browse online or download pdf Operation And Maintenance Instructions for Air Compressor Clarke INDY OIL FREE. Clarke INDY OIL FREE 10 pages.

FAULT FINDING
With considerate use, your CLARKE Air Compressor should provide you with long
and trouble free service. Routine checks should be made on both the electrical
supply as well as the compressed air lines and connections. If any fault appears,
the reason for which is not immediately obvious, please contact your local
CLARKE Dealer.
PROBABLE CAUSE
PROBLEM
The compressor
Bad connections.
stops and will
not start again.
Overload cutout
switch has tripped.
Motor windings
burnt out.
he compressor
Compressor head
T
does not reach
gasket blown or
the set pressure
valve broken.
and overheats
easily.
Compressor
Compressed air i
does not start.
cylinder head
CAUTION Do not attempt any repair or adjustment if you are uncertain as
to how it should be done. If you have any queries, contact your local
CLARKE Dealer.
REMEDY
Check electrical
connections.
Clean and tighten as
necessary.
witch off and wait 5
S
minutes before switching on.
Contact your local dealer
for a replacement motor.
Contact your CLARKE
dealer.
Replace Piston (contact
your CLARKE dealer)
Turn the air outlet tap off and
disconnect hose (if fitted).
Open the outlet tap and
expel air from cylinder
head. Restart
-12 -
PAINT SPRAYING HINTS Cont
PAINT THINNING
For a professional looking finish paint must be thinned. If manufacturers recom-
mendations on thinning are not available, the following can be used as a
general guide.
Water based paints (emulsions) 10-20% water.
Oil based paints (gloss) up to 10% thinners.
Cellulose paints up to 50 % cellulose thinners.
HANDLING THE GUN
the first requirement for a good resultant finish is the proper handling of the gun.
The gun should be perpendicular to the surface being covered and moved par-
allel with it. The stroke should be started before the trigger is pulled and likewise ,
released before the stroke is ended. This gives accurate control of the gun and
material.
The distance between the gun and the surface to be covered should be 6 to 12
inches depending on the material and atomising pressure. The material depos-
ited should always be even and wet. Lap each stroke over the preceding stroke
to obtain a uniform finish.
NOTE: To reduce overspray and obtain maximum efficiency, always spray with
the lowest possible atomising air pressure.
- 9 -
