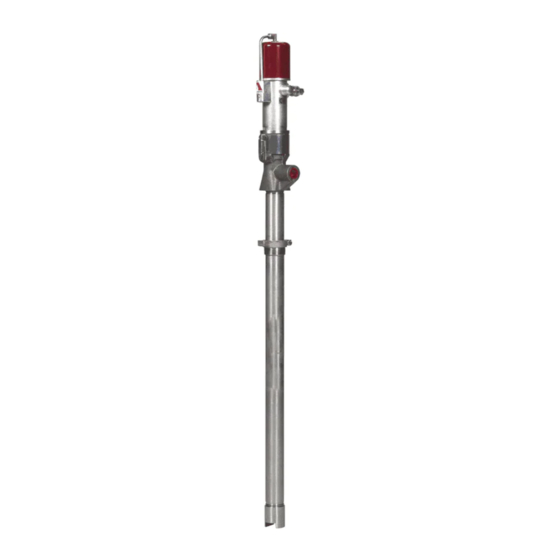
Alemite 7835-SDTR1 Service Manual - Page 8
Browse online or download pdf Service Manual for Water Pump Alemite 7835-SDTR1. Alemite 7835-SDTR1 12 pages. Medium-pressure stainless pump
SER 7835-SDTR1
Clean and Inspect
1. Clean all metal parts in cleaning solvent. The solvent
should be environmentally safe.
2. Inspect all parts for wear and/or damage.
• Replace as necessary.
3. Inspect Packing Rings (11) and Cups (25) for wear.
• Replace as necessary.
4. Inspect Packing Rod (15) and lower bore of Cylinder
(31) for any score marks.
• Replace as necessary.
5. Closely inspect the mating surfaces of all check valve
components for any imperfections. Ensure a smooth
and clean contact is obtained when assembled.
EXAMPLE: Place Ball (34) into Foot Valve
Body (35). Fill the Foot Valve Body with
solvent. Make sure no leakage occurs.
Assembly
NOTE: Prior to assembly, certain compo-
nents require lubrication in clean mineral
oil. Refer to Table 3 for details.
Pump Tube Assembly
Outlet Body
1. Clamp Outlet Body (13) [cage end upward] into a soft-
jaw vise.
1. Screw Pipe Plug (14) [with thread sealant] into the
Outlet Body.
• Tighten the Plug securely.
2. Install and seat Male Adapter Ring (12) [flat side
first], Packing Rings (11) [lip side first], and Female
Adapter Ring (10) [flat side upward] into the top of the
Outlet Body.
3. Screw Packing Nut (9) into the Outlet Body loosely.
IMPORTANT: The Packing Nut will require
adjustment. Refer to the section entitled
Bench Test and Operation for details.
Item No.
15
Packing Rod
bore of Cylinder
31
Table 3 Components Lubricated in Clean Mineral Oil
Revision 8-00
1-800-548-1191-http://[email protected]
Description
Medium-Pressure Stainless Pump
4. Install Packing Rod (15) [threaded end first] into the
top of the Outlet Body.
• Allow the threaded end to extend from the bottom of
the Outlet Body.
5. Screw Coupling (16) onto the Packing Rod until the
cotter pin holes align.
6. Install Cotter Pin (17).
Adapter
7. Position Adapter (23) small diameter upward.
8. Install and seat Washer (24) [lip upward], Cup (25) [lip
first], Spacer (26) [large diameter first], additional Cup
(25) [lip first], and Washer (27) onto the Adapter.
9. Screw Valve Body (28) onto the Adapter.
• Tighten the Valve Body until it bottoms.
Rod
10. Screw Nut (19) to the top of Rod (18).
11. Screw Stop (20) onto the Rod until it bottoms.
12. Tighten Nut (19) to the Stop.
13. Install Spacers (21) and (22) onto the Rod.
14. Install the Adapter assembly [Adapter end fist] onto
the Rod.
15. Screw Valve Seat (29) onto the Rod until it bottoms.
16. Measure the distance from the bottom of Stop (20) to
the top of Spacer (21).
• The distance must not be less than 0.20 " (5.1 mm)
and no greater than 0.28 " (7.1 mm). See Figure 4.
NOTE: This setting effects the efficiency of
the pump.
Cylinder
17. Install Cylinder (31) [bottom end first] onto the top of
the Rod and Adapter assembly.
• Allow the Rod to extend from the top of the Cylinder.
18. Position the Outlet Body horizontally in the vise.
19. Install and seat Gasket (30) into the bottom of the
Outlet Body.
20. Screw the Rod of the Cylinder assembly into the
Coupling until the cotter pins holes align.
21. Install Cotter Pin (17).
8
Alemite Corporation