Alemite 9616-A Service Manual - Page 9
Browse online or download pdf Service Manual for Water Pump Alemite 9616-A. Alemite 9616-A 10 pages. Low-pressure transfer pump
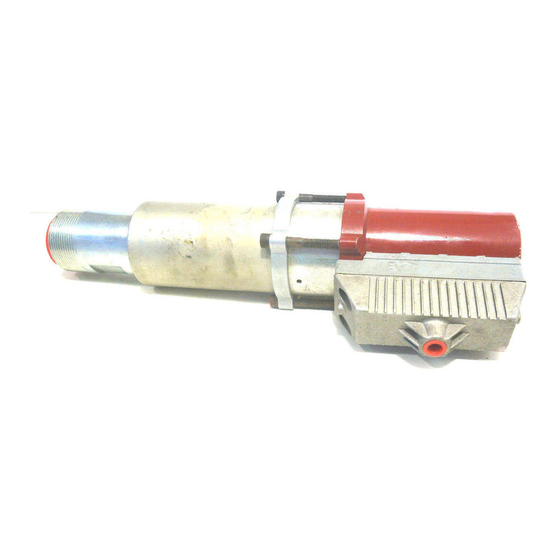
Low-Pressure Transfer Pump
Pump Indications
Pump does not cycle
Pump will not prime
Pump cycles rapidly
Pump will not stall (cycles
more than once or twice per
hour)
External Leaks
Product leakage visible at
weep hole in Outlet Body
(11)
Product leakage visible at
bottom of Outlet Body (11)
Air leakage at weep hole in
Outlet Body (11)
Product leakage visible
between Cylinder (26) and
Valve Body (34)
Internal Leaks
Pump does not prime or
cycles continuously, or
slowly (once or twice/hour)
Alemite Corporation
1-800-548-1191-http://[email protected]
Troubleshooting Chart
Possible Problems
1. Air motor not operating properly
2. Pump tube jammed and/or contains
loose components
3. Insufficient air pressure
1. Excessive cycling speed
2. Pump leaking internally
1. Product source empty
1. Pump requires break-in period
2. Pump leaking internally
3. Pump leaking externally
4. Distribution system leaking
1. Damaged Seal (15)
2. Damaged Rod (18)
1. Screws (28) not sufficiently tight
2. Damaged O-Ring (10)
Damaged Seal (13)
1. Stop (23) not sufficiently tight into
Valve Body (34)
2. Damaged O-Ring (24)
1. Foreign material between Ball (29)
and Seat (31)
2. Foreign material between Plate (22)
and Fluid Piston (20)
3. Worn or damaged Ball (29)
4. Worn or damaged Seat (31)
5. Worn or damaged O-Ring (7)
6. Worn or damaged Cylinder (26)
7. Worn or damaged Plate (22)
8. Worn or damaged Fluid Piston (20)
Changes Since Last Printing
Changed Contents of Repair Kit 393627
9
Solution
1. Inspect air motor and rebuild or replace as
necessary
2. Rebuild pump tube
3. Increase air pressure
1. Reduce air pressure
2. See Internal Leaks
1. Replenish product
1. Operate the pump against moderate fluid
pressure for up to one hour
2. See Internal Leaks
3. See External Leaks
4. Correct leak
1. Replace Seal (15)
2. Inspect Rod (18) and replace as necessary
1. Tighten Screws (28) into Air Motor
Assembly (4)
2. Separate Cylinder (26) from Outlet Body
(11) and replace O-Ring (10)
Replace Seal (13)
1. Tighten Stop (23) into Valve Body (34)
2. Separate Valve Body (34) from Stop (23)
and replace O-Ring (24)
Locate and eliminate source of foreign
material.
Disassemble pump tube, clean, inspect, and
replace worn or damaged components
Revision (10-98)
SER 9616-A