Clarke CHT 141 Operating Instructions - Page 2
Browse online or download pdf Operating Instructions for Tools Clarke CHT 141. Clarke CHT 141 3 pages. 1/2" square drive torque wrench

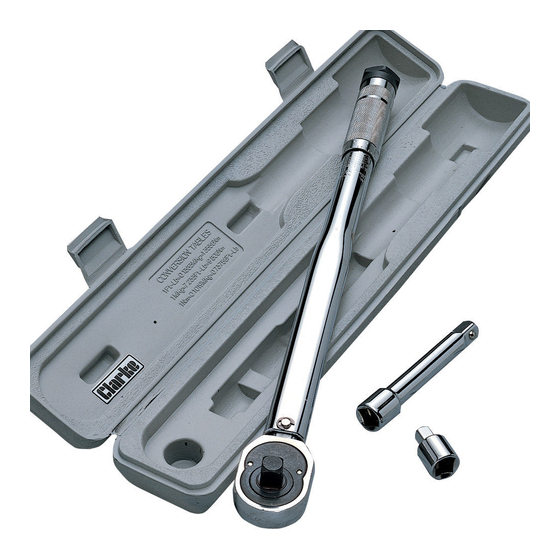
Thank you for purchasing this CLARKE Automatic Torque Wrench.
This torque wrench is designed to tighten nuts with precision. It should NOT be used for UNDOING
nuts, as severe damage could occur. With correct use, this tool will produce an accuracy of
plus or minus 3%, and you can hear and feel when the desired torque setting has been
reached. With careful and considerate use, it will give years of reliable service.
GUARANTEE
This product is guaranteed against faults in manufacture for 12 months from purchase date.
Keep your receipt as proof of purchase. This guarantee is invalid if the product has been
abused or tampered with in any way, or not used for the purpose for which it is intended. The
reason for return must be clearly stated. This guarantee does not affect your statutory rights.
OPERATION
A. Torque Setting Adjustment
Example: To set the torque to 6.2 kilogram metres (kgm)
1. Ensure the lock nut (1) is loosened, by turning it anti-clockwise. Turn the knurled handle
until the zero mark on the chamfered scale (3) is in line with the next lowest graduation
on the linear scale (4). In this case it would be 5.7.
2. Continue to turn the knurled handle, five more graduations. (1 graduation equals
0.1kgm). The wrench is now set at 6.2kgm.
3. Tighten lock nut (1) to secure the setting.
B. Method of Use
Note: Preferably, DO NOT use knuckle or universal joints, as these could result in incorrect
torque settings.
1. Place the square drive on to the socket or extension bar, perpendicular to the nut/bolt
to be tightened.
2. Gripping the knurled handle with the right hand, whilst steadying the 1/2" square drive
end with the left, gently but firmly, pull the handle (i.e. in a clockwise direction) until a
click is heard, and a slight 'break' in the handle is felt. DO NOT turn any further.
1. Do not jerk the torque wrench in any way to tighten a nut. Apply even pressure
throughout theoperation.
2. Release the wrench immmediately the click is heard/felt.
3. It should be noted that the 'click' becomes weaker with the lower torque settings.
ACCESSORIES
1.
1/2" Square Drive, x 5" Extension bar.
2.
1/2" x 3/8" Square Drive adaptor.
3.
Carrying Case
IMPORTANT
