CLAS OH 9000 Manual - Page 8
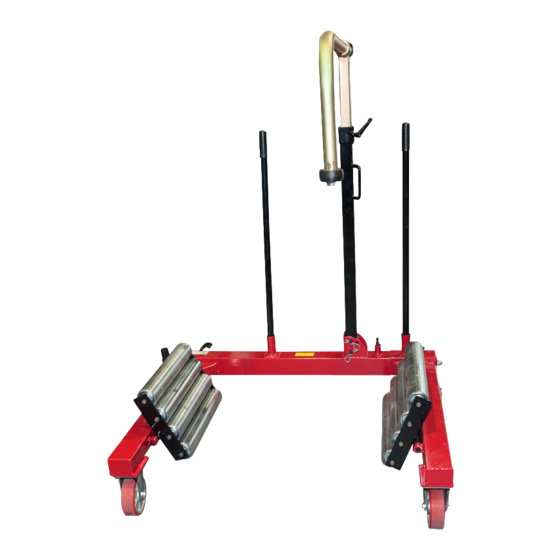
Browse online or download pdf Manual for Service Equipment CLAS OH 9000. CLAS OH 9000 12 pages. Wheel dolly hgv

OH 9000
WHEEL DOLLY HGV
IMPORTANT
The operator must be in good health with good Sight and hearing and the physical ability to carry out all operations
required.
The operator must understand how the machine works. Be responsible when operating the machine and aware of
potential danger.
The operator must have read this booklet and fully understand the warning symbols on the machine.
Please keep the equipment clean all the time.
When the equipment is not in use, fully release the pressure.
INSTRUCTIONS
Using the Dual Wheel Dolly to remove a wheel
Position the vehicle on a suitable horizontal oor, applying the break. Jack up the axle of the wheel to be changed,
with a suitable trolley jack, so that it is clear of the oor. Secure with axle stands.
I. Using the Dual Wheel Dolly. Unlock the pin (NO.9), then press the control pedal (NO.7) to A position Pump
apart the Dual Wheel Dolly with the pump lever (NO.6) to make the Roller Table (NO.5) in to right position.
2. Adjust the wheel support Arm (NO.4) so that the clamp support arm (NO.1) is positioned over the wheel to be
handled.
3. Push the Dual Wheel Dolly unit under the wheel so that the roller tab les are positioned either side of the wheel
and that the wheel sits up against the vertical wheel support Arm (NO.4).
5. Lower clamp support arm (NO.1) behind the wheel and adjust until the wheel is vertical and can be moved
approx 5cm sideways. This will allow the wheel to be rotated in the Dual Wheel Dolly when re-locating wheel
studs. Lock the clamp support arm in position by tightening lock Arm (NO.2and NO.3).
WARNING! WHEEL SUPPORT ARM (NO.4) AND CLAMP SUPPORT ARM (NO.1) ARE ONLY USED TO BA-
LANCE THE WHEEL NOT TO CARRY A LOAD!
6. Press the control pedal (NO.7) to B position. Lift the wheel by pumping the level (NO.6). When the wheel is
positioned on the unit the Dual Wheel Dolly must be secured in the lifting position with the lock Pin (NO.9).
IMPORTANT: Ensure that lock Pin (NO.9) is secured through the nearest location hole on the inner member. This
prevents unintentional lowering of the wheel while it is being handled.
7. With the wheel nuts removed, the wheel can now be safely carried away on the Dual Wheel Dolly.
8. Put Pump Level (NO.6) into Socket (NO.11) used same as a handle as (NO.12), thus the whole machine can
be pushed to move.
