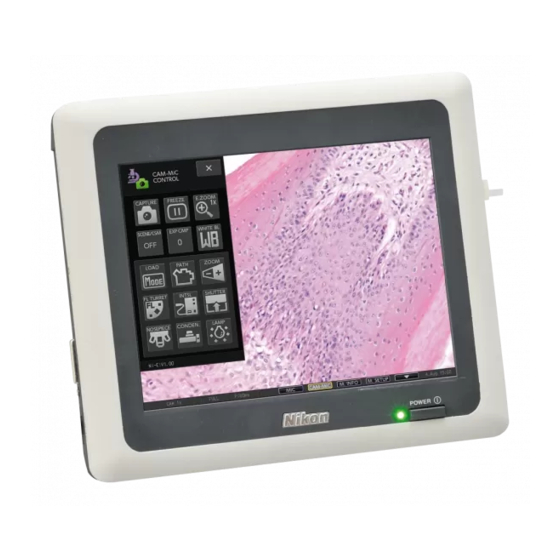
Nikon DS-L3 Quick Reference - Page 7
Browse online or download pdf Quick Reference for Camera Accessories Nikon DS-L3. Nikon DS-L3 8 pages. Ds camera head; ds cooled camera head

4
4
4
Use the [TOOL BAR] buttons to perform
measurement on the monitor.
Note: Color for drawing can be selected from black, red,
yellow, green, blue, or white.
Distance between two points
Measures the distance
between the two points (e.g.,
A-B) specified on an image.
Perpendicular line
Measures the length of a
perpendicular line drawn from a
point (e.g., c) to a reference line
(e.g., A-B) drawn between two
points on an image.
Angle
Measures the angle between
two straight lines (e.g., A-B and
C-D) drawn on the screen.
Diameter and circumference
Measures the diameter and
circumference of a circle drawn
with three points (e.g., A, B, C)
on the circumference.
Polygon area
Measures the area of a polygon
(e.g., A-D) drawn on the
screen. To define the polygon
after specifying the points,
press the [AREA
MEASUREMENT] button.
Distance between two circle centers
Measures the distance
between centers of two circles
(e.g., A-C, D-F) each drawn
with three points on
circumference.
M
e
a
s
u
r
e
m
e
n
t
<
M
e
a
s
u
r
e
m
e
n
t
<
Pitch length
Measures the length of several
perpendicular lines drawn from
desired points (e.g., C, D) to a
reference line drawn between
the two points (e.g., A-B) and
distance between points (pitch
distance).
5
5
5
Use buttons on the [TOOL BAR] for the following operations.
measurement
6
6
6
7
c
o
n
t
d
.
>
c
o
n
t
d
.
>
Operate the measurement results.
Abort/undo
Clear / clear all the measurement results
Operating measurement results ([TOOL BAR] screen)
Configure to paste measurement results to
the image.
[TOOL SET: MAIN]
([TOOL SET: MAIN] screen)
Update measurement results
Show/hide
measurement
results overlay
Output measurement results
to CSV format
1
Open the [TOOL SET: MAIN]
screen.
Press the [TOOL SET] button
on the [TOOL MENU] screen
to open the submenu and
select [MAIN].
Note: An image can be captured or
printed with measurement
results overlaid just as
displayed on the monitor, if
they are set to be output by
selecting with the checkmark.
2
Paste measurement results
to the image.
Put a checkmark to the
[OVERLAY] checkbox.
(This applies to overlaying the
annotations.)
3
Return to [TOOL MENU].
After the settings is done, press
the [
TOOL] button to go back
to the [TOOL MENU] screen or
press the [X] button to close the
[TOOL SET: MAIN] screen
