Armstrong Rada 50 Installation And Maintenance Manual - Page 5
Browse online or download pdf Installation And Maintenance Manual for Control Unit Armstrong Rada 50. Armstrong Rada 50 12 pages. Water temperature controls, groups of fixtures, thermostatic

Rada 320 Installation
The Rada 320 Thermostatic Mixing Valve must be installed as per the piping schematic provided on Page 5.
Failure to follow this directive will compromise valve/system performance, void all warranties and may create a
user comfort issue and safety concern.
Armstrong has Rada technical support personnel available from 8:00 a.m. to 5:00 p.m. EST. Call Toll Free
1-888-HOT HOSE.
Notes:
1. Rada 320 may be installed in a vertical or horizontal position.
2. Rada 320 must be installed in a standard HOT-LEFT/COLD-RIGHT inlet supply configuration. There are
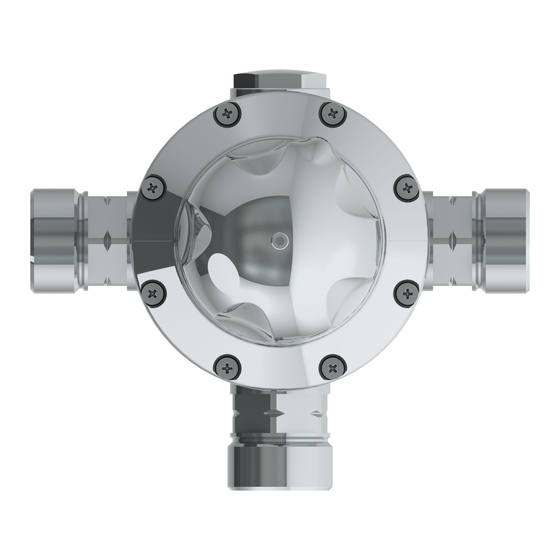
red(hot) and blue(cold) markings on each valve. Rada 320 is provided as standard with a piped top outlet
and a plugged bottom outlet. This configuration can be reversed by simply switching the outlet plug and
fittings. The inlet supplies must always match the corresponding inlet ports on the valve. Rada 320D/DC is
provided as standard with a top outlet which can also be reversed.
3. Install flat faced union connections* at each inlet and the outlet as close to the mixing valve as feasible to
facilitate check valve and inlet strainer screen service and replacement.
4. Be sure to thoroughly flush the pipework before fitting the Rada 320.
5. Be sure to "make up" all "sweat" or "soldered" fittings ahead of time. Do not expose Rada 320 or any of its
fittings to extreme temperatures (such as an acetylene or propane torch).
6. Rada 320 is serviced from the front of the valve as you face it. A minimum 18" clearance in front of the
Temperature Control Handle is suggested for internal parts access.
7. Rada 320 is pre-set at the factory to a fixed outlet temperature of 110°F (43°C). It is highly unlikely that the
installation site conditions will match the test conditions. As such:
RADA 320 MUST BE RE-SET ON SITE BY QUALIFIED PERSONNEL.
Rada 320 set up (commissioning the Rada 320 and the system) protocol is included on Page 6.
Rada 320 Piping Schematic
* Factory supplied on Rada 320D/DC and when Rada 320 is installed in a cabinet assembly (320 FMC/SMC).
System Layout
- Legend -
Thermometer
Check Valve
Isolation Valve
Sink
Stop Valve
Shower
Strainer
Rada 215,
320 (shown)
or 425 TMV
5
Hot Water Supply
Cold Water Supply
