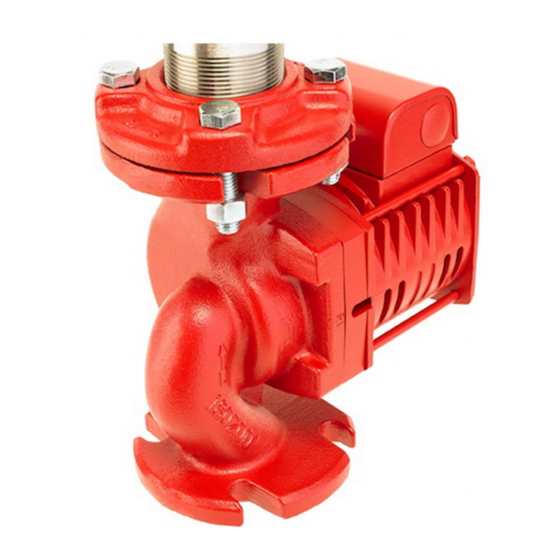
Armstrong E14.2b Installation And Operating Instructions Manual - Page 7
Browse online or download pdf Installation And Operating Instructions Manual for Water System Armstrong E14.2b. Armstrong E14.2b 8 pages. High efficiency circulator

5 Remove the face plate from the motor by gently prying it
off of the motor housing extension, and carefully pulling it
straight up, avoiding any shaft contact.
6 Remove the stationary part of the seal by gently prying it off
the steel faceplate.
7 Remove any corrosion present on the stainless steel motor
shaft and face plate (especially the seal seat area) with a
non-metallic brush or scrub pad. Do not use a wire brush or
steel wool.
8 Remove any dust created during step #7 above and put a
few drops of non-petroleum lubricant around the face plate
where the stationary seat is to be installed.
9 Install the new stationary seal seat into the faceplate by
firmly pressing it down until it bottoms. The disk should
be clean. If needed, wipe it with alcohol and a soft lint
free cloth.
10 Replace the faceplate on the motor housing extension, being
careful to avoid shaft contact. This may need to be gently
tapped down until tight to the housing. Be sure to check that
the stainless steel plate is flush to the extender plate face.
11 Install the special installation tool (item #180202-095) on
the top of the shaft making sure it is tight to the flat base of
the impeller to protect the seal from sharp edges during
seal installation.
12 Apply a liberal amount of non-petroleum based lubricant on
the outside of the special plastic installation tool.
13 Wipe any excess lubricant off of the stationary silicon
carbide seal face with a lint free cloth and alcohol to ensure
the surface is clean.
diagr am 5 Internal Assembly (Exploded view)
casing gasket
impeller nut
(left hand thread)
casing
mechanical seal
housing extender
impeller
seal seat and l-cup
E.2 Series high efficiency
circulator
14 Install the new rotating seal element and spring assembly
by gently pushing it (graphite ring first) over the installation
tool and onto the shaft until the graphite ring presses tightly
against the stationary seal seat. The seal spring may be
compressed slightly.
15 Remove the installation tool from the shaft.
16 Install the impeller keeping the inlet end up. Make sure to
align the flats to the shaft flats and push the impeller down
tightly to the seal.
17 Place 2-3 drops of medium strength thread locker liquid on
the nut threads.
18 Install the special left hand thread nut on the motor shaft.
While holding the motor rotor in place as in step 3, thread
the impeller nut on to the shaft in a counter-clockwise
direction and tighten the nut to approximately 6ft-lbs
(8.1Nm).
19 If the impeller will not spin freely contact Armstrong
Technical Support at 1-416-755-2291 or email
20 Ensure the gasket is properly seated in the pump casing
(volute) gasket groove. Holding the motor body, insert
the impeller straight into the volute. Verify the gasket was
not dislodged during insertion, and is still seated properly.
Hold the motor body steady while fastening the four bolts
that attach the motor to the pump casing (volute). Tighten
evenly and diagonally. There should be a small, even gap
of about 0.02" (0.5 mm) between the motor flange and the
pump casing (volute).
21 Follow the start up instructions (File no. 10.84)
and check for leaks.
motor assembly
seal installation tool
faceplate
i n s ta l l at i o n &
o p e r at i n g i n s t r u c t i o n s
motor
bolt (4)
7
