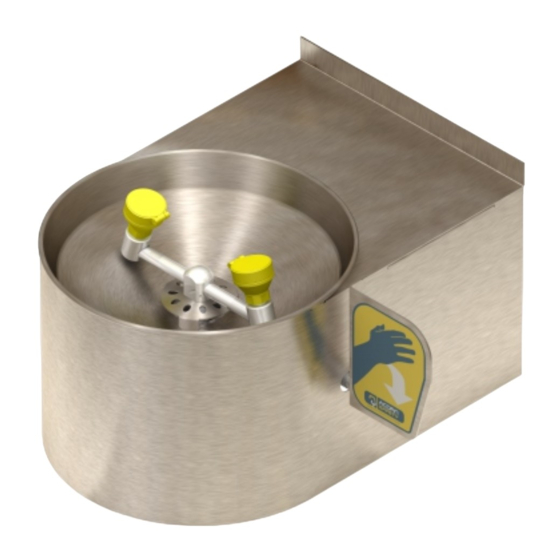
Acorn Safety S0470 Installation, Operation And Maintenance Instructions - Page 4
Browse online or download pdf Installation, Operation And Maintenance Instructions for Washer Acorn Safety S0470. Acorn Safety S0470 6 pages. Wall mount shrouded eye/face washes

Installation & Operation Manual
INSTALLATION INSTRUCTION:
Supplies required: (not provided by Acorn)
1. Wall fasteners for signage & possible eye/face wash
mounting.
2. Pipe sealant or Teflon tape for sealing water connections.
IMPORTANT: FLUSH WATER SUPPLY LINES PRIOR
TO CONNECTION TO SAFETY EQUIPMENT.
NOTES:
• Use hand tools and wrenches in a manner which will prevent
marring finished surfaces. Strap wrenches or tools with
plastic jaw linings are highly recommended.
• Refer to Rough-in for location of supply and drain lines.
• Fragments of Teflon tape or pipe sealant residue can with the
proper
operation of this unit. Ensure pipe sealant
methods do not cause contamination in the system.
STEP ONE: LOCATE & DRILL MOUNTING HARDWARE
HOLES
1. Locate the eye/face was against the wall at the
recommended height. (NOTE) The eye/face was needs to be
mounted into studs or heavy duty wall anchors, supplied by
the installer.
2. From underneath the eye/face wash, mark the mounting
holes for drilling.
3. Drill the holes to fit the appropriate hardware. supplied by the
installer.
STEP TWO: MOUNT THE UNIT
1. Hole the eye/face wash against the wall and install the
mounting hardware into the previously drilled holes.
2. Make sure the eye/face wash is level and tighten all
hardware.
STEP THREE: PLUMBING & TESTING
1. Plumb the drain tube to the existing drain line.
2. Plumb a ½"line to supply to the ½" ball valve, ensure that no
debris are in the line
3. Turn on potable water supply.
4. Turn eye/wash wash on and inspect system for leaks, verify
wash heads flow properly.
STEP FOUR: SINAGE & INSPECTION
1. Position sign with clear visibility, in close proximity to safety
equipment and mark mounting hole locations.
2. Select appropriate 1/4" anchors, screws and washers
(Supplied by others) to install signage.
3. Attach inspection tag supplied, with plastic zip tie.
Acorn Safety
a division of Acorn Engineering
Manual #7109-103-001
MOUNTING HOLE
LOCATION 4X
MOUNTING SCREWS &
HARDWARE TYPICAL 2X
(PROVIDED BY INSTALLER)
Company
™
Page 4 of 6
BACKSIDE MOUNTING HOLES
INSPECTION
TAG
SHOWN FOR REFERENCE
Revised: 05/06/13
