3D Creations North American P 51 D Mustang Assembly Instructions Manual - Page 9
Browse online or download pdf Assembly Instructions Manual for Toy 3D Creations North American P 51 D Mustang. 3D Creations North American P 51 D Mustang 15 pages. Paper scale model kit
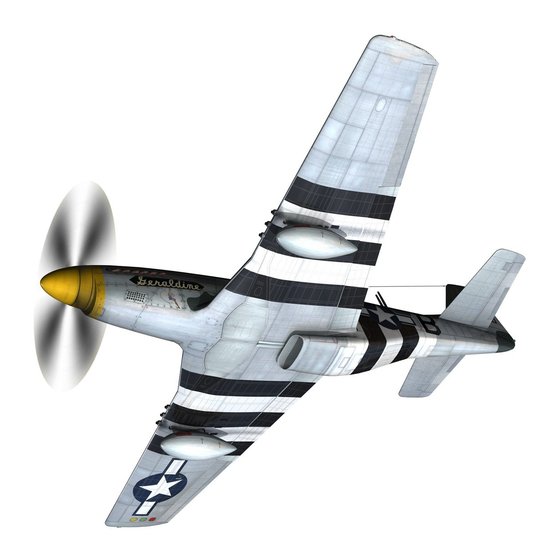
Elevator and Rudder Construction
Cut out elevator parts #14 and 15. Score and fold along the lines indicated in figure 26.
Apply glue to the trailing edge tab and the
very edge of the elevator wing tip. Fold the
elevator halves together then fold the trailing
edge tab back in to place. Now hold the
elevator by its edges and squeeze them
together so that the sides bow out giving the
elevator an elliptical shape. Fold the bottom
tab down at a 90-degree angle.
the light blue tap.
Trim off any edges that
need it. Repeat this procedure for the other
elevator section.
Apply glue to the two tabs and mount to the
tail section of the fuselage as shown in figure
27. Use the paint scheme to locate the proper
placement of the lower glue tab.
easier. See figure 28. Using liquid glue brushed on in a thin
Do not bend
Now cut out part #20 the rudder. Take note
of the small cuts that are to be made in the
glue tabs at the base of the rudder mount.
Score and fold the rudder in half at the
trailing edge. Now score, fold and glue all
the glue tabs on the leading edge. Score all
the lower glue tabs and fold them out at a
90-degree angle. At this point squeeze the
rudders edges to give it an elliptical shape.
Apply glue to the top edge and press it
together. Curl the two front tabs slightly to
match the curve
of the fuselage
prior to gluing to
make instillation
layer mount the
rudder in place. After
insuring its
alignment use a
toothpick to press the
tabs into place. Now
cut out parts #18 and
19. These pieces are
to be bent at a 90-
degree angle outward and glued to the rudder
and elevator simultaneously. This covers the
exposed seam. See figure 29.
9