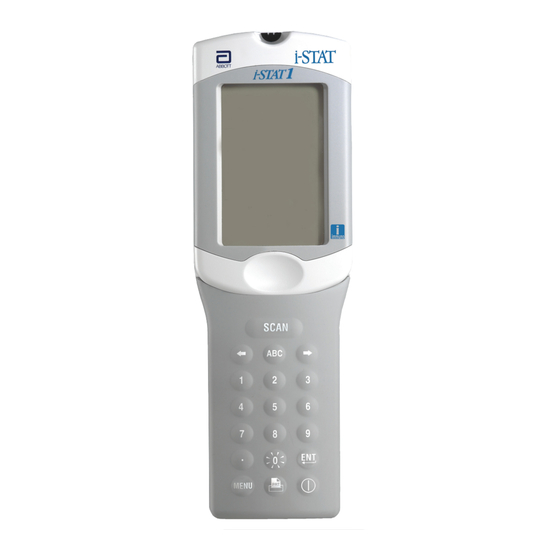
Abbott i-STAT 1 User Manual - Page 8
Browse online or download pdf User Manual for Blood Glucose Meter Abbott i-STAT 1. Abbott i-STAT 1 9 pages. For use with a clia certificate of waiver
Also for Abbott i-STAT 1: Quick Reference Manual (7 pages)

Reportable and Reference Range
Calculated:
Test
Units
Hemoglobin/Hb
g/dL
g/L
mmol/L
TCO
mmol/L (mEq/L)
2
(for all cartridges but
the CHEM8+ only)
HCO
mmol/L (mEq/L)
3
BE
mmol/L (mEq/L)
Anion Gap/AnGap
mmol/L (mEq/L)
sO
%
2
Test Flags and Operator Action
n
***: Results that are not reportable due to sensor errors or interfering substances.
Draw a fresh sample and repeat test. If results are flagged again, send sample to
the lab.
n
< , > and < >: Results that are below or above the reportable range or dependant on
results that are outside the reportable range. Send sample to the lab if necessary.
n
↑ and ↓: Results that are above or below the action range. Follow facility procedure
for samples with critical values.
8
(continued)
Reportable
Reference Range
Range
(arterial)
(venous)
5.1 – 25.5
12 – 17
12 – 17
51 – 255
120 – 170
120 – 170
3.2 –15.8
7 – 11
7 – 11
5-50
23 – 27
24 – 29
1.0 – 85.0
22 – 26
23 – 28
(-30) – (+30)
(-2) – (+3)
(-2) – (+3)
(-10) – (+99)
10 – 20
10 – 20
N/A
95 – 98
Printing Test Results from a
i-STAT Printer or Martel Printer
Without Downloader or Downloader/Recharger
1.
Turn printer on if green power light is not on.
2.
Align IR windows of handheld and printer.
3.
Display results.
4.
Press
.
5.
Do not move handheld or printer until printing is complete.
6.
If printer is not powered from a wall outlet, turn printer off.
With Downloader or Downloader/Recharger
1.
Place handheld in Downloader or Downloader/Recharger that is wired to printer.
2.
Display results.
3.
Press
. Do not move handheld or printer until printing is complete.
4.
If printer is not powered from a wall unit using the AC adapter, turn printer off.
Printing more than one result
1.
Turn the handheld on.
2.
Press
.
MENU
3.
Press
for Data Review.
2
4.
Press
7
for List.
5.
Scroll through the test records using the ← and → keys.
6.
Press the numbered key for the test record(s). (Press the numbered key again to
deselect a record.)
7.
Align handheld and printer IR window or place in Downloader or
Downloader/Recharger attached to printer. Press
8.
Do not move handheld or printer until printing is complete.
9.
If printer is not powered from a wall unit using the AC adapter, turn printer off.
.
9
