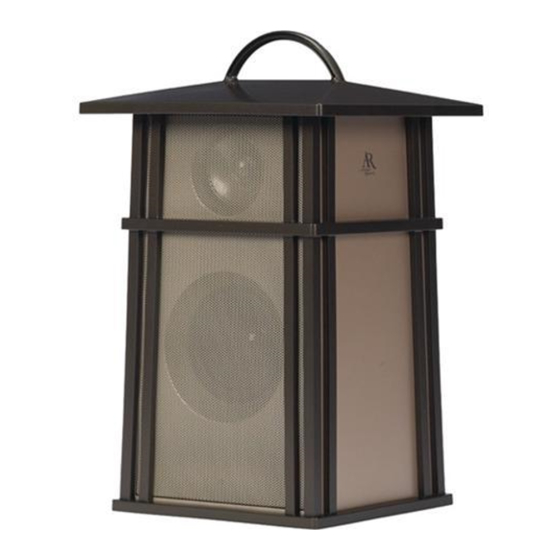
Acoustic Research AWS5 Installation And Operation Manual - Page 2
Browse online or download pdf Installation And Operation Manual for Speakers Acoustic Research AWS5. Acoustic Research AWS5 4 pages. Wireless indoor/outdoor speaker

Connecting the Speaker System
Powering the Transmitter
Transmitter (back panel)
CHANNEL
1 2 3
Note:
There is no transmitter ON/OFF switch. The transmitter is designed to be left plugged
in and powered at all times. If you will not be using the AWS5 for an extended period of time,
unplug the transmitter AC power adapter.
Connecting to an Audio Source
Connecting to an MP3 player, CD player, or computer
Warning:
DO NOT
Connecting to an A/V Receiver
CHANNEL
DC IN
1 2 3
Y-adapter
audio cable
3. Connect the stereo plugs on the mini-jack to RCA adapter to the corresponding left and right
audio outputs of your A/V receiver, amp, or other audio source.
Powering the Speaker
(not shown)
There are two options to power your wireless speaker: using the included AC power adapter or
using 6 AA batteries (not included).
CHANNEL
1 2 3
Note:
Be sure to use the speaker AC power adapter rated 9V DC 1200 mA.
Warning:
environments, such as rain, mist, dew, etc. In other words, you can take it out, just don't leave it out.
To avoid electrical shock, use this product with caution near water sources if powered with the
AC adapter. Never submerge in water.
AA Batteries
1. Remove the battery compartment cover on the bottom of the speaker.
2. Insert six (6) AA batteries (not included) into the speaker following the polarity ("+" and "-")
as diagrammed inside the battery compartment.
3. Replace the battery compartment cover on the bottom of the speaker.
Note:
Place the rubber cap in the speaker power input jack when using batteries.
DO NOT
battery).
not in use for long periods. Always remove old, weak or worn-out batteries promptly and recycle or
dispose of them in accordance with local and national regulations.
120V AC
wall outlet
AC Power
Adapter
DC IN
R AUDIO L
IN
Y-adapter
audio cable
A
CHANNEL
DC IN
1 2 3
R AUDIO L
IN
Transmitter
Audio
(back panel)
source
This product is designed to work with line level outputs or headphone outputs only.
connect it directly to speaker outputs as it will permanently damage the transmitter.
Transmitter
(back panel)
A/V Receiver
A
Audio Output
R AUDIO L
IN
Mini-jack to RCA
adapter (not included)
DC IN
R AUDIO L
IN
AC power
120V AC
adapter
wall outlet
This product is water-resistant, not waterproof. Avoid prolonged exposure to wet
mix batteries with different chemistry types (for example, a zinc battery with an alkaline
DO NOT
mix new and used batteries.
Connect the small, round plug from the transmitter AC
power adapter to the transmitter's DC IN jack. Plug the
other end of the transmitter AC power adapter into any
standard 120V AC wall outlet.
Note:
Be sure to use the AC power adapter rated 12V DC
200 mA (it has the smaller diameter plug).
1. Plug the stereo plugs on the provided Y-adapter
audio cable into the AUDIO IN jacks on the back of
the transmitter (make sure to match the colors on the
plugs and jacks).
2. Plug the mini-plug end of the provided Y-adapter into
the headphone output of your MP3 player or CD player
(or audio output jack on your computer).
1. Plug the stereo plugs on the provided Y-adapter
audio cable into the AUDIO IN jacks on the back of
the transmitter (make sure to match the colors on the
plugs and jacks).
2. Plug the mini-plug end of the provided Y-adapter into
a mini-jack to RCA adapter (not included).
AC Power Adapters
1. Insert the small, round plug from the speaker AC
power adapter into the DC IN jack on the bottom of
the speaker.
2. Plug the other end of the speaker AC power adapter
into any standard 120V AC wall outlet.
DO NOT
leave batteries installed in the product when
