ESI KATAEX2-DC-FMS-WHT Installation Instructions Manual - Page 3
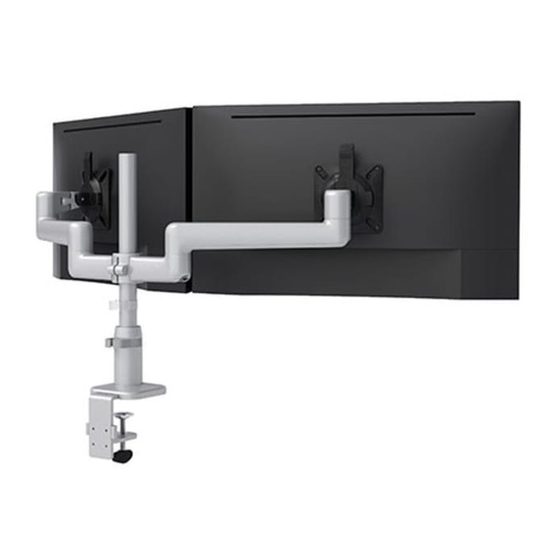
Browse online or download pdf Installation Instructions Manual for Racks & Stands ESI KATAEX2-DC-FMS-WHT. ESI KATAEX2-DC-FMS-WHT 12 pages. Dual fixed+motion+slider monitor arm

KataEX2-FMS
Follow either step #1a for clamp mounting or step #1b for grommet mounting. All other steps apply to both mounting methods.
Step #1a: attach base assembly to worksurface — clamp mounting
The thickness of the worksurface must be between 0.5" and 2.1". To mount the clamp flush against
the worksurface, the thickness must be no more than 1.5".
• Loosen the clamp sufficiently to be able to slide it easily onto the worksurface.
• Clamp the assembly to the worksurface in the desired position. Be sure to tighten the clamp securely.
• Place the base cover onto the mounting post and fit the cover over the base.
0.5" – 2.1"
Step #1b: attach base assembly to worksurface — grommet mounting
Maximum thickness of the worksurface for grommet mounting is 1.7".
• Place the base assembly over the grommet hole with the bolt centered.
• Insert the grommet bar onto the grommet bolt and then screw on the grommet knob. Tighten the grommet knob securely to hold the base assembly in position.
• Place the base cover onto the mounting post and fit the cover over the base.
gap
grommet base assembly
center bolt in grommet hole
maximum thickness = 1.7"
fit base cover
over base
flush
0.5" – 1.5"
against
clamp
fit base cover
over base
grommet bar
Page 3
clamp to
worksurface
tighten grommet knob to secure
Assembly
