Alton ECOMAX ELG03 Instruction Manual - Page 9
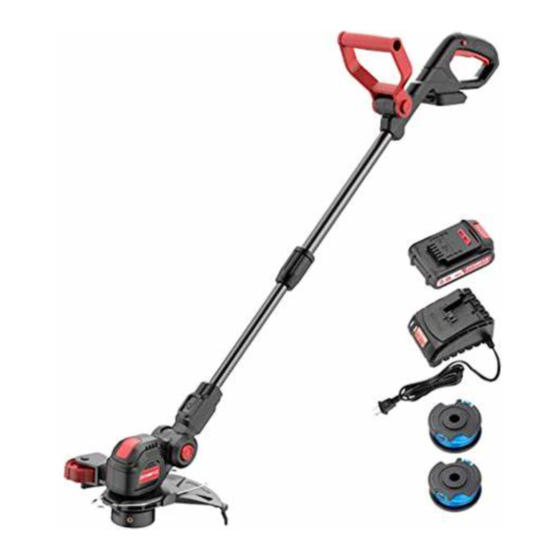
Browse online or download pdf Instruction Manual for Trimmer Alton ECOMAX ELG03. Alton ECOMAX ELG03 14 pages. 18v cordless string trimmer

15. MAINTENANCE
CAUTION! Do not let brake fluids, gasoline, petroleum-based materials
touch the plastic parts. Chemicals can cause damage to the plastic, and
make the plastic unserviceable.
CAUTION! Do not use strong solvents or detergents on the plastic
housing or components.
WARNING! Remove the battery pack from the machine before
maintenance.
16. CLEAN THE MACHINE
WARNING! Keep the machine and the motor free of leaves, branches or
excessive oil to prevent fire risks.
Clean the machine after use with a moist cloth dipped in neutral detergent.
Do not use aggressive detergents or solvents to clean the plastic parts or
handles.
Keep the trimmer head free of grass, leaves, or excessive grease.
Keep the air vents clean and free of debris to avoid overheating and
damage to the motor or the battery.
Do not spray water onto the motor and electrical components.
17. OVERLOAD PROTECTION
When overloaded, the motor comes to a stop Relieve the load on the machine
immediately and allow cooling for approx. 30 seconds.
18. TEMPERATURE DEPENDENT OVERLOAD PROTECTION
When using as intended the power tool cannot be subject to overload. When
the load is too high or the allowable battery temperature of 75 C is exceeded,
the electronic control switches off the power tool until the temperature is in
the optimum temperature range again.
19. PROTECTION CONTRE LES DECHARGES PROFONDES
The Li-ion battery is protected against deep discharging by the"Discharging
Protection System When the battery is empty, the machine is switched off by
means of a protective circuit:
The inserted tool no longer start.
13
CHARGER & BATTERY
CHARGING THE BATTERY
1. REMOVING THE BATTERY
If the Battery does not slide into the charger easily, do not force it. Instead,
slide the Battery out of the charger again, check the top of Battery and the tool
battery slot are clean and undamaged and that the contacts are not bent.
Setting up the battery charger.
1 ). If fitted, remove any Battery(B)from the Battery Charger(A).
2) .Insert the Battery Charger mains plug into a suitable mains socket.
WARNING! Use this charger only to charge the supplied battery or
additional purchased batteries that are specifically distance to the
cutting head designed for this tool.
WARNING! The charger is designed for indoor use only, and must not
be used in damp or wet conditions.
2. PUT IN THE BATTERY TO CHARGER
A
B
WARNING! Failure to follow the correct procedure when charging
batteries will result in permanent damage.
Note: Normal charging time is approximately 70 minutes for a recently
discharged 2.0Ah capacity battery. However, if the Battery has been left in a
discharged state for some time, it may take additional time to charge.
LED indicate
Nummer
Charger status
1
Charging
2
Finished charging
3
Battery failure
Remark battery operating temperature 0±3°C<T<50±3°C
Insert
battery
LED status
Green light
ON
OFF
OFF
ON
OFF
OFF
14
