Custom Crimp CC150 Operator's Manual - Page 6
Browse online or download pdf Operator's Manual for Crimp tool Custom Crimp CC150. Custom Crimp CC150 17 pages. General production hose crimper
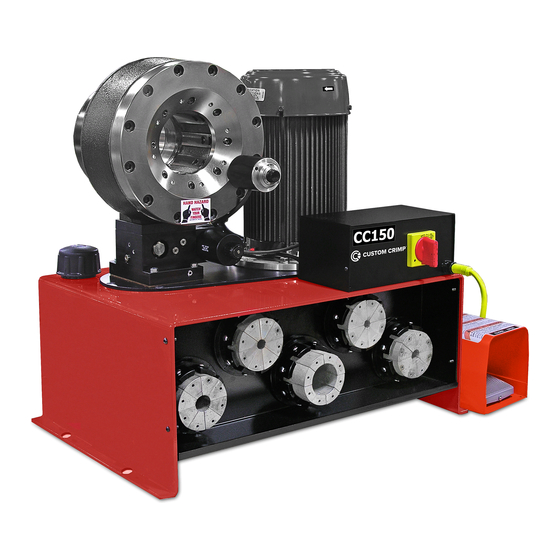
CC150
General Production Hose Crimper
Bring the crimper head to fully opened position as shown
in photo A.
Install the Hydraulic Dies with the quick change tool as
shown in photo B.
Note: The die size stamped on the face of the die should
face toward the operator.
Align the studs of the Hydraulic Dies with the holes in the
Master Dies and SLOWLY close the crimper head on the
die set as shown in photo B.
Bring the crimper head to a fully closed position as shown
in photo C.
Remove the quick change tool as shown in photo D.
Note: The dies may also be inserted manually with the
crimper head in the fully open position.
Proceed to the Crimping Instructions to set up the crimper
for the hose and fitting being crimped.
For Hydraulic Die removal, bring the crimper head to the
fully closed position as shown in photo D.
Insert the quick change tool and open the crimper head
releasing the Hydraulic Dies form their spring retention
holes as shown in photo E.
HYDRAULIC DIE INSTALLATION
A
B
C
D
E
6