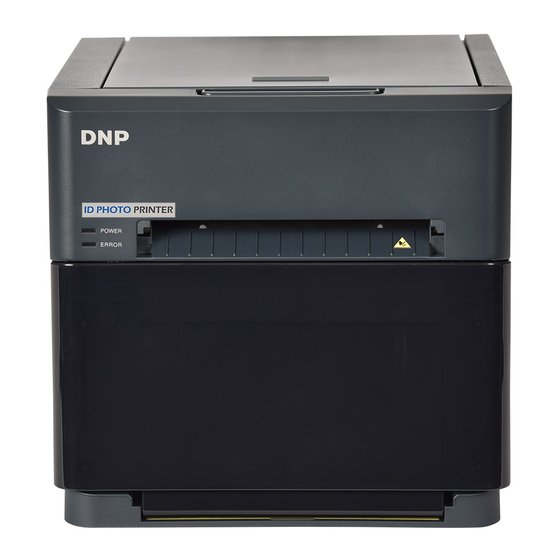
DNP IDW520 Startup Manual - Page 5
Browse online or download pdf Startup Manual for Digital Camera DNP IDW520. DNP IDW520 17 pages. Id photo system
Also for DNP IDW520: Quick Start Manual (17 pages)

Place the new paper roll on the paper spools. Be sure to press the
spools against the paper roll to set the paper tightly against the
spools.
• Feed the paper into the printer. Place the paper spool into the
printer with leading edge of the paper feeding over the top of the
roll, towards the front of the printer. Feed the paper into the bottom
of the paper compartment until the printer beeps. This means that
the paper is in the correct position. The printer will complete the
loading process when the door is closed.
• Load the ribbon into the printer. Orient the new
ribbon so that the yellow supply side (larger side)
is towards you and the white take-up side (smaller
side) is towards the back of the printer. Align the
left sides of the ribbon with the grooves and then
lower the click the right sides into place.
• Wind the ribbon. Wind the supply spool (spools closest to the front
of the printer) to remove any slack in the ribbon.
• Close up the printer. Some blank prints are ejected. (Any time a
fresh media set is installed or the paper roll is re-fed into the feed
path blank prints are made to align the paper.)
3. Setting up the Processor
Console
•
Unpack the console from the shipping box. Remove any
protective plastic sheeting, packaging materials, or foam
from the processor console.
• Plug the printer USB cable into the bottom port on the back of the
console.
• Plug the power cord into the
console power port and into a
wall outlet. Do not power on the
processor console at this time.
SUPPLY
TAKE - UP
BOTTOM USB
PORT
POWER PORT
5 5
