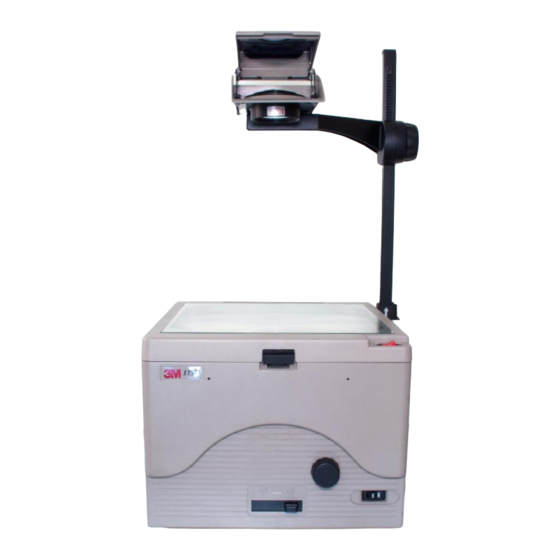
3M P-ATC9K Operating Instructions Manual - Page 5
Browse online or download pdf Operating Instructions Manual for Projector 3M P-ATC9K. 3M P-ATC9K 9 pages. 3m overhead projector operating instructions model no. 1700

Troubleshooting
Problem
Lamp does not illuminate but fan
motor runs.
Neither lamp nor fan energize.
Fan motor does not run but lamp
illuminates.
After replacing a burned out lamp, the
new lamp fails.
Short lamp life: Lamps seem to fail
before expected life span.
Projected image is wider at the top
than bottom (Vertical Keystoning).
Projected image higher on one side
(Horizontal Keystoning).
Projected image is dim.
Projected image does not have
uniform brightness.
Yellow/orange to brown or blue colors
appear in corners of image.
Color, focus or image problem.
Cleaning
For best performance, use 3M™Overhead Cleaner 676 to keep
your projector free of excess dust and surface dirt.
Stage Glass and Lenses: Use 3M overhead cleaner and a soft,
lint–free cloth to remove surface dirt from the stage glass,
projector lens and bottom of Fresnel lens.
Projection Mirror: Use a soft brush to remove surface dirt
from the projection mirror.
4
Probable Causes
a. Lamp changer control not engaged.
b. Lamp not seated properly.
c. Burned out lamp.
a. Projector not plugged in.
b. Stage cover not completely closed.
c. No power at wall outlet.
a. Fan blade/motor obstructed.
b. Burned out fan motor.
a. Defective lamp was installed.
b. Possible electrical problem.
a. Defective lamps.
b. High line voltage.
a. Screen not aligned at 90 angle to projected
light beam.
a. Projector not aligned at 90 angle to screen. a. Rotate projector until image height is equal on
a. Dirty stage glass, lenses, mirrors.
b. Condenser lens bracket open or retaining
clip not engaged.
c. High/low lamp control setting incorrect.
a. Lamp not aligned properly.
a. Lamp not at best location for projector to
screen distance.
a. Optics out of alignment.
a. Fully slide lamp changer control until it stops.
b. Seat lamp squarely in socket.
c. Replace lamp.
a. Plug projector into outlet.
b. Close stage cover to engage safety interlock.
c. Verify outlet has power.
a. Call for service.
b. Call for service.
a. Replace lamp.
b. If new lamp fails immediately, you may have
an electrical problem. Call for service.
a. Document actual lamp life, then contact Lamp
Supplier or 3M Service Center.
b. Have electrical line checked by an electrician.
a. Tilt projection screen toward projector until
image width is equal at top and bottom.
both sides.
a. Remove surface dirt.
b. Close and secure lens bracket with retaining
clip.
c. Set control to high for brightest image.
a. Properly seat lamp in socket. Fully slide lamp
changer into position 1 or 2.
a. Rotate color tuning dial to remove colors in
corners.
a. Call for service.
Caution
!
The projection mirror is a front–surface mirror and to avoid
damage to the lens surface, the lens must not be wiped clean.
Solution
3M 1700 Operator's Guide
