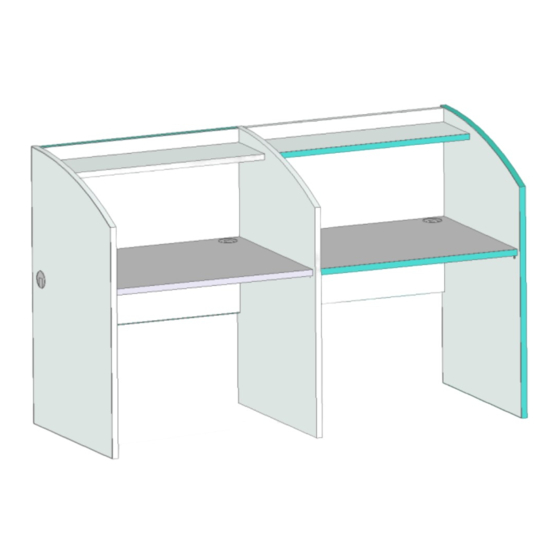
Fleetwood 833318 Assembly Instructions
Browse online or download pdf Assembly Instructions for Indoor Furnishing Fleetwood 833318. Fleetwood 833318 2 pages.

Carrel (Low & High) Assembly Instructions
STARTER/ADDER CARREL WITH HIGH ENDS SHOWN
Note: The assembly of this unit requires two people.
TOOLS REQUIRED:
-
Phillips Tip Screwdriver
-
Rubber Mallet
2. Locate the intermediate panel. Repeat Step 1 to attach
the end/intermediate panel to opposite end of the back
panel. Continue to repeat this step until all additional
intermediate panels, backs and opposite end panels
have been attached.
1. Locate the back panel and LH end panel. Attach back
panel to end panel by having one person hold the end
panel in an upright position and a second person slide
the back panel over the four shoulder screws located
near the back edge of the end panel. Once the back
panel has been slid downward enough to engage the
shoulder screws, use rubber mallet to properly seat the
modular clips.
*NOTE: Be sure the trough holes and worksurface
attachment holes are facing toward the inside of the
carrel.
3. Locate the worksurface. Attach the worksurface to the
end/intermediate panels. Note the relief cutouts on the
bottom of the worksurface near each of the modular
clips. Slide the worksurface between the
end/intermediate panels until the relief cutouts align
with the shoulder screws. Lower the worksurface and
slide toward the back panel to engage the shoulder
screws. Use the rubber mallet to properly seat the
modular clips onto the shoulder screws.
83.33-36-INST
Rev. A
2
Page 1 of
