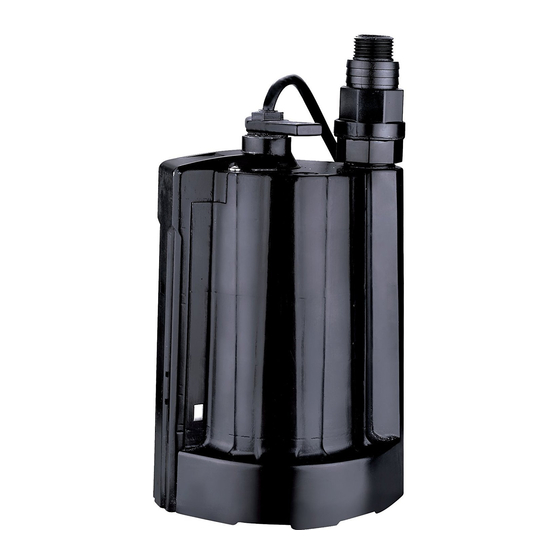
Acquaer AUP033-5 Manual - Page 4
Browse online or download pdf Manual for Water Pump Acquaer AUP033-5. Acquaer AUP033-5 13 pages. Automatic submersible utility pump

14.
This unit is designed only for use on 115 volts (single phase), 60 Hz, and is equipped with an approved
3-conductor cord and 3-prong grounded plug. DO NOT REMOVE THE GROUND PIN UNDER ANY
CIRCUMSTANCES. The 3-prong plug must be directly inserted into a properly installed and grounded
3-prong, grounding-type receptacle. Do not use pump with a 2-prong wall outlet. Replace the 2-prong
outlet with a properly grounded 3-prong receptacle (a GFCI outlet) installed in accordance with the
National Electrical Code and local codes and ordinances. All wiring should be performed by a qualified
electrician.
Protect the electrical cord from sharp objects, hot surfaces, oil, and chemicals. Avoid kinking the cord.
15.
Do not use damaged or worn cords.
WARNING:
Always use handle to lift pump. Never use power cord to lift pump. To avoid skin
burns, unplug and allow time for the pump to cool after periods of extended use.
Before beginning assembly of product, make sure all parts are present. Compare parts with package
contents list. If any part is missing or damaged, do not attempt to assemble the product.
Estimated Assembly Time (New installation): 5 minutes
Materials Required for Assembly (not included):
Garden Hose or Hose Kit The pump should rest on a level, solid base.
1. Attach the included adaptor (B) to the threads of the pump (A).
Note: The adaptor (B) has a built-in check valve. The use of this adaptor will
prevent the backflow of water into the pump (A).
2. Connect either a 3/4 in. garden hose to the threads of the adaptor (B) or clamp a 1-1/4 in. hose kit (not
included) to the barbs of the adaptor (B).
Note: Be sure the garden hose end has a rubber washer to minimize water
leaks.
WARNING: Secure the discharge hose before plugging in the pump. Pump
torque may cause an unsecured discharge hose to "whip," possibly causing
personal injury and/or property damage.
ADDITIONAL SAFETY PRECAUTIONS
PREPARATION
INSTALLATION INSTRUCTIONS
4
1
B
A
2
B
A
