ClosetMaid 068-7155-0 Installation Instructions Manual - Page 13
Browse online or download pdf Installation Instructions Manual for Indoor Furnishing ClosetMaid 068-7155-0. ClosetMaid 068-7155-0 17 pages. Divided unit
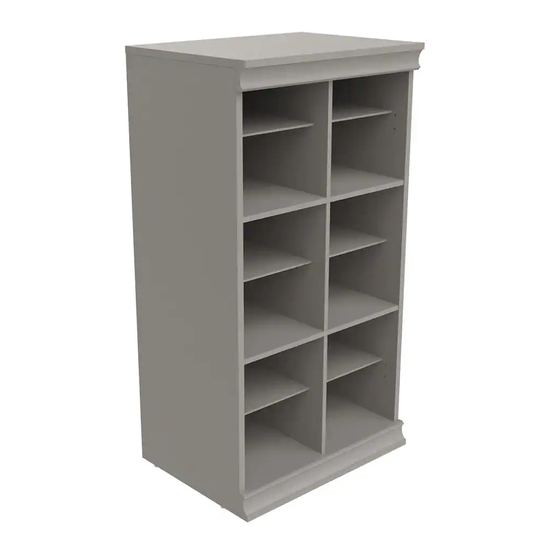
Install back panel.
STEP 8
Installer le panneau arrière.
ÉTAPE 8
Instale el panel posterior.
PASO 8
Small Nail
Petit clou
Pequeño clavo
(H6) x 20
■ Place back panel (G) onto unit
(making sure the finished side
of backer faces down) and center
horizontally and vertically.
■ Nail the back panel (G) into
position using small nails (H6).
Avoid angling nails.
■ Gently tap a nail-on foot (H7)
approximately 1 in. away from
each corner. If stacking this unit,
skip this step.
(H7)
Composez le 1-800-874-0008 pour les pièces et l'entretien. Llame al 1-800-874-0008 para piezas y servicio.
Nail-On Foot
Pied à ongles
Pie de uñas
(H7) x 4
■ Placez le panneau arrière (G) sur
l'unité (en vous assurant
que le côté fini du support est
tourné vers le bas) et centrez-le
horizontalement et verticalement.
■ Fixez le panneau arrière (G) à
l'aide de petits clous (H6). Évitez
de pêcher les ongles.
■ Tapoter doucement un pied
clou (H7) à environ 1 po de
chaque coin. Si vous empilez
cette unité, ignorez cette étape.
(H6)
D
Call 1-800-874-0008 for parts and service.
■ Coloque el panel posterior (G)
en la unidad (asegurándose de
que el lado terminado de la parte
posterior esté hacia abajo) y
céntrelo horizontal y
verticalmente.
■ Clave el panel posterior (G) en
posición usando clavos pequeños
(H6). Evitar las uñas en ángulo.
■ Golpee suavemente un pie
clavado (H7) aproximadamente
a 1 pulgada de distancia de
cada esquina. Si apila esta unidad,
omita este paso.
G
A