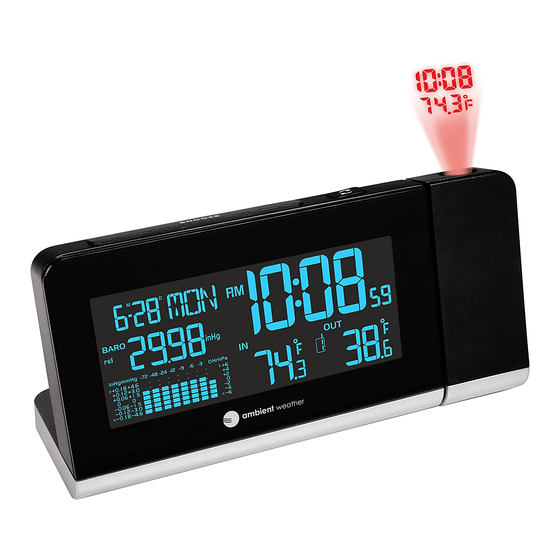
Ambient Weather WS-8460 User Manual - Page 13
Browse online or download pdf User Manual for Alarm Clock Ambient Weather WS-8460. Ambient Weather WS-8460 17 pages. Clear view projection alarm clock with indoor temperature and color changing outdoor temperature

5.10
Wireless Sensor Display
No Description
1
Temperature
2
Temperature Units of Measure (°F or °C)
3
Low Battery Indicator
5.11 Wireless Sensor Low Battery Indictor
When the battery is full, no battery icon will be displayed. When the battery is low, the low battery
indicator
will be displayed. Replace with 2 new AA size batteries. Pay attention to the
polarity.
5.12 Viewing the Wireless Sensor Channels
In normal time mode, press the CHANNEL / UP button to view wireless channels 1, 2 and 3.
To automatically scroll through channels 1, 2
seconds (the beep will sound). The wireless channels will scroll on the screen every 5 seconds.
5.13
Syncing and Resyncing the Wireless Sensor
If the sensor is synced to the console, the console will display the reception icon with the signal
strength
If the sensor signal is lost, dashes --.- will be displayed in place of temperature.
.
If you lose synchronization from the remote wireless sensor for an extended period of time or you
replace the batteries in the wireless sensor, you may need to resync or reset the sensor to the console.
To resync the sensor(s), press the SENSOR button in the battery compartment and the sensor display
will show dashes (--.-). Wait several minutes for resynchronization.
To reset the console, disconnect from AC power and remove the batteries for 10 seconds, then reinsert
the batteries and reconnect AC power. Alternately, you can press the RESET button on the back of the
console. The sensor display will show dashes (--.-). Wait several minutes for resynchronization.
Version 1.0
©Copyright 2016, Ambient LLC. All Rights Reserved.
No Description
4
Reception Icon (on when searching, flashes
when updates)
5
Channel Number (default = 1)
Figure 10
,
and 3, press and hold the CHANNEL / UP button for 2
Page 13
