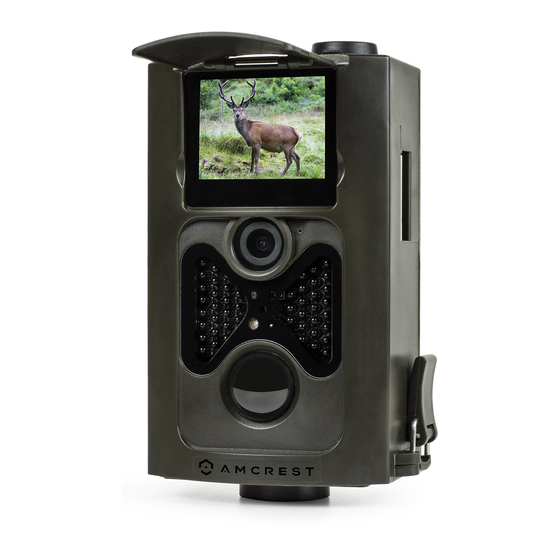
Amcrest ATC-801 Gebruikershandleiding - Pagina 12
Blader online of download pdf Gebruikershandleiding voor {categorie_naam} Amcrest ATC-801. Amcrest ATC-801 15 pagina's. Digital game & trail hunting camera

2014 and 2050.
Provided that the date and time are needed to be set to February 5th, 2016 at
10:30AM, the steps are as following:
a) Press MENU to display the settings menu.
b) Press RIGHT to enter the Setup menu.
c) Press DOWN then OK to select Date/Time.
d) Press UP and DOWN to change the date and time, RIGHT and LEFT to select
different intervals.
e) Press OK to save the current setting, then press menu to return to info display.
Press MENU return to the info display without saving the settings.
4.1.11 Multi
This parameter affects the number of pictures taken for each triggering while in
camera mode. It has four values: "Single", "3 Pictures", "6 Pictures", and "9 Pictures". Its
default value is "Single". The following shows how to set photo burst to 3 Pictures,
provided that the previous option is Single:
a) Press MENU to display the settings menu.
b) Press RIGHT or LEFT to select the Camera menu.
c) Press DOWN then OK to select Multi.
d) Press DOWN/UP and select 3 pictures.
e) Press OK to save the current setting, then press menu to return to info display.
Press MENU return to the info display without saving the settings.
4.1.12 ISO
This menu can help get a better photo at night, the lower the ISO the less noise that's
digitally produced by exposure. The higher the ISO the brighter the picture, often contains
noise that looks like film grain or color banding. There are 3 values: AUTO, 100, 200, and
400. The default value is Auto. The following shows how to change the ISO setting.
a) Press MENU to display the settings menu.
b) Press RIGHT or LEFT to select the Camera menu.
c) Press DOWN and then OK to ISO.
d) Press DOWN/UP to select the desired ISO setting.
e) Press OK to save the current setting, then press menu to return to info display.
Press MENU return to the info display without saving the settings.
4.1.13 Video Length
This menu is used to set the length of the video that is recorded after it has been
triggered. It has 4 values: 10 Seconds, 30 Seconds, 60 Seconds, and 90 Seconds. The
following shows how to set video length to 30 Seconds, provided that the previous value
is 10 Seconds:
a) Press MENU to display the settings menu.
b) Press RIGHT or LEFT to select the Video menu.
c) Press DOWN then OK to select Video Length
d) Press DOWN/UP to select the desired video length.
e) Press OK to save the current setting, then press menu to return to info display.
Press MENU return to the info display without saving the settings.
4.1.14 Video Sound
The following shows how to turn off the sound on the video recording:
a) Press MENU to display the settings menu.
b) Press RIGHT or LEFT to select the Video menu.
c) Press DOWN then OK to select Voice.
d) Press DOWN/UP to select if you want sound on or off.
e) Press OK to save the current setting, then press menu to return to info display.
Press MENU return to the info display without saving the settings.
4.1.15 Interval
This parameter is how long the PIR (Passive Infrared motion sensor) will be disabled
after each triggering while in the ON mode. During this time the PIR of the device will not
react to motion. The minimum interval is 1 second. This means the PIR works indefinitely
10
