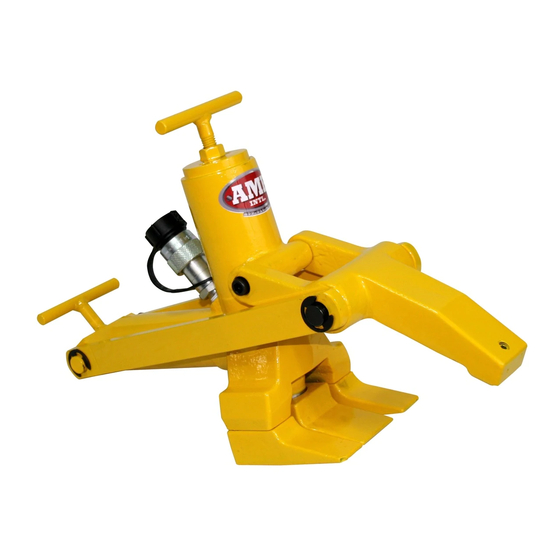
AME Combi 11020 Gebruiksaanwijzing - Pagina 4
Blader online of download pdf Gebruiksaanwijzing voor {categorie_naam} AME Combi 11020. AME Combi 11020 7 pagina's. Modified tire bead breaker

Activating the Bead Breaker
Caution
The bead breaker uses a long stroke and high force. Be careful not to
damage or bend rim parts, such as the flange butt weld, when using the
bead breaker.
1. Run the air hydraulic pump so that the clamping jaw begins to tighten
against the rim. (See Fig. 3.) Make sure the wedge-shaped teeth are
placed well into the tire bead and against the rim flange. NOTE: To grab
the rim flange evenly, you may have to try several times. Do not force the bead breaker when grabbing
the rim flange.
2. Continue to apply hydraulic pressure until the bead breaking ram extends
about 1/4 inch [6,35 mm] from the bead breaker. (See Fig. 4.)
3. Maintain the bead breaker, so that it is nearly perpendicular
(90°) to the rim.(See Fig. 5.) If necessary, adjust the position of the bead
breaker.
4. Step away from the bead breaker. (See Fig. 6.)
DANGER
Always stand to one side of the rim when using the bead
breaker. Standing to one side of the bead breaker allows
you to maintain control of the bead breaker.
Do not hold the bead breaker when breaking the tire bead. If it is not
seated properly and flies off the rim, the bead breaker could cause seri-
ous injury or death.
5. Continue to apply hydraulic pressure until the bead breaking ram extends
about 1/2 - 3/4 inch [13-19 mm] from the bead breaker. (See Fig. 7.)
NOTE: Never try to break the tire bead with only one push. Instead, proceed to
"Continuing to Break the Tire Bead". Move the bead breaker 8-12 inches [0,2
-0,3 m] from its current position.
1. Breaking the Bead on the Other Side
2. Repeat steps, starting with "Positioning the Bead
Breaker", until the rim is completely separated from the
tire bead.
low.
AME INTERNATIONAL
INSTRUCTION MANUAL
- 4 -
