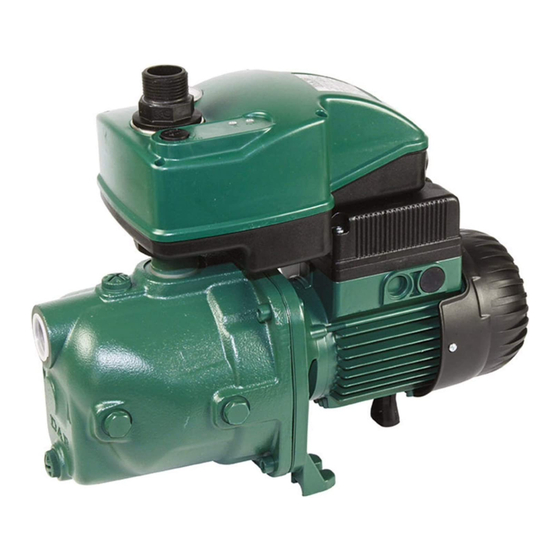
DAB ACTIVE EI 25/30 Instructies voor installatie en onderhoud - Pagina 10
Blader online of download pdf Instructies voor installatie en onderhoud voor {categorie_naam} DAB ACTIVE EI 25/30. DAB ACTIVE EI 25/30 20 pagina's.

− The pump starts automatically, keeping only the
green led lit (Fig.11).
Fig. 11
After starting, the pump will begin to prime and will
operate according to the set parameters.
If priming has not been completed within 5 minutes,
the pump will stop automatically and will make 3
attempts to start of about 3 minutes each, with pauses
of 10 seconds.
The starting attempts will be repeated, in the event of
a negative result:
− after 1 hour :
1 attempt of 3 minutes,
− after 4 hours :
1 attempt of 3 minutes,
− every 15 hours : 1 attempt of 3 minutes.
To perform manual resetting of the pump you must
supply power to it again, disconnecting the voltage for
a few seconds.
6.
MAINTENANCE
− In normal operating conditions the electropump
does not require any kind of maintenance.
− However, it may be necessary to clean the
hydraulic parts if you notice a certain reduction of
its characteristics.
− The electropump can only be dismantled by
specialised, skilled personnel in possession of
the qualifications required by the specific
regulations.
− In any case all repair and maintenance jobs must
be carried out only after having disconnected
the pump from the power mains.
If the power cable of this appliance is damaged, it must be repaired by specialised
personnel to prevent all risks.
ATTENTION: if pumps for outdoor use are installed, supply cables type H07 RN-F, complete with plug
(EN 60335-2-41).
For power cables without a plug, provide a cut-out device for the power mains (e.g. magnetothermal device)
with separation contacts of at least 3 mm for each pole.
ENGLISH
Never touch the electronic components of
the pump if the power has not been turned
off for at least 5 minutes.
− If there is the risk of damage caused by frost, drain
the pump through the drainage cap (Fig.12).
The pump must be filled again before starting. Fig. 9.
Fig. 12
6.1 Starting the pump after a long period of
inactivity
Using a screwdriver, inserted in the hole in the centre of
the fan cover, it is possible to free the rotor if the pump
has been still for a long time.
If the pump has been drained, it must be filled with fluid
before starting. Fig. 9
6.2 Modifications and spare parts
Any modification not authorised beforehand relieves the
manufacturer of all responsibility. All the spare parts
must be authentic and all the accessories must be
authorised by the manufacturer.
6.3 Service Kit
The following service kits are available:
− mechanical seal,
− electronic card,
− hydraulic components of the pump.
To change the electronic card CAREFULLY follow the
diagram on page 27 Fig. 14.
24
