Asterion EQ5 Drive Kit Handmatig - Pagina 5
Blader online of download pdf Handmatig voor {categorie_naam} Asterion EQ5 Drive Kit. Asterion EQ5 Drive Kit 10 pagina's.

(Eng) Autonomous mode
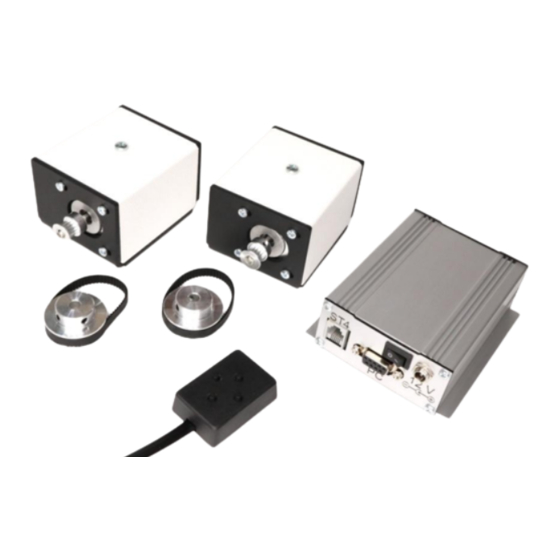
Connecting the drives to the controller, plug the hand
controller to the ST4 port and connect the power supply to
the controller power socket. After the power key is turned
on, three short and one long beep will sound, indicating that
the system is ready for use. At this time the mount will
automatically start tracking the object with star speed.
Switching the mounting speed is performed using the
joystick items Ra+ and Ra- holding the Mode button. Each
speed selection is accompanied by a short beep according to
the following scheme: 1 signal - Stop, 2 signals - Star speed,
3 - Moon speed, 4 - Solar speed.
To switch the speed of correction/guiding of the mount, use
the items Dec+ and Dec- holding the Mode button. Each
speed selection is accompanied by a long beep according to
the following scheme: 1 signal - x20, 2 signals - x65, 3 -
x200, 4 - x500.
ATTENTION!
After the system is connected and started, it is strictly
forbidden to connect/disconnect drives or other devices.
All manipulations shall be performed only when the power
button is off. Otherwise, the controller electronics may fail.
(Рус)
Автономный режим
Соединив приводы с контроллером, подключаем пульт
управления в разъём ST4 и подсоединяем блок питания к
гнезду питания контроллера. После включения клавиши
питания прозвучат три коротких и один длинный
сигналы, свидетельствующие о готовности системы к
работе. При этом монтировка автоматически начнёт
слежение за объектом со звёздной скоростью.
Переключение
скорости
производится с помощью позиций джойстика Ra+ и Ra-
при удержании кнопки Mode. Каждый выбор скорости
подтверждается
коротким
следующей схеме: 1 сигнал-остановка, 2-звездная, 3-
лунная, 4-солнечная скорости.
Переключение
скорости
монтировки
производится
джойстика Dec+ и Dec- при удержании кнопки «Mode».
Каждый выбор скорости подтверждается длинным
звуковым сигналом по следующей схеме: 1 сигнал - x20,
2- x65, 3- x200, 4- x500.
ВНИМАНИЕ!
После подключения и запуска системы категорически
запрещено подключение/отключение приводов или
прочих
устройств.
производить только после выключения
питания. В противном случае это может привести к
выходу из строя электроники контроллера.
ведения
монтировки
звуковым
сигналом
коррекции/наведения
с
помощью
Все
манипуляции
клавиши
по
позиций
следует
