Astonica 50105606 Gebruiksaanwijzing - Pagina 2
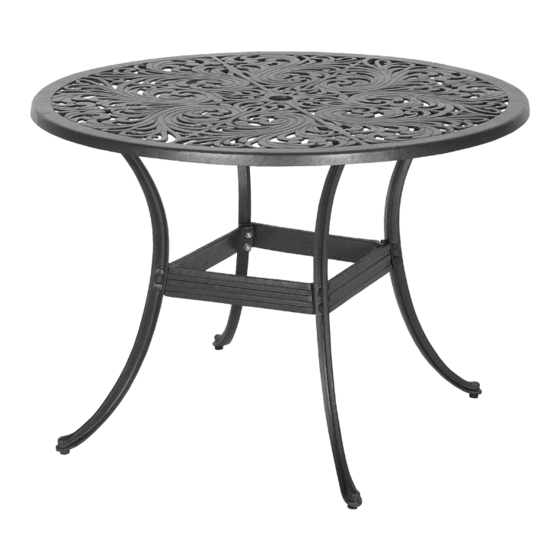
Blader online of download pdf Gebruiksaanwijzing voor {categorie_naam} Astonica 50105606. Astonica 50105606 2 pagina's. Samoa 42'' round dining table

PARTS LIST
PART #
A
Table Top
B
Leg
C
Center Brace
D
Adjustable Feet Washer
E
Threaded Stud 8mm
F
Flat Washer, 8mm
G
Hex Nut, 8mm
H
Lock Washer
Parts Detail
A
C
F
Carefully remove the contents from the package. If any parts are missing do not
attempt to use the product until they have been obtained and correctly installed.
IF YOU HAVE ANY PROBLEMS OR QUESTIONS CONCERNING THIS PRODUCT,
DO NOT RETURN IT TO YOUR RETAILER. CONTACT CUSTOMER SERVICE AT
1-888-424-3354
NOTE: This product is intended for residential, non-commercial use.
DESCRIPTION
B
D
E
G
H
1
QUANTITY
Figure 1
1
4
4
4
16
16
16
16
(8-places)
Install Table Legs
CAUTION: Do not over tighten fasteners.
Install Table Legs
1. (SEE FIGURE 1) Place table top (A) upside down on flat non-scratch surface.
2. Install eight threaded studs (E) under table top as shown.
3. Place one table leg (B) over threaded studs. Attach leg to table top using two flat washers (F),
two lock washers (H) and two hex nuts (G). Repeat for remaining table legs.
Install Center Braces
1. Install two threaded studs (E) into mounting holes of each table leg (B).
2. With table legs in place, align first center brace (C) between two table legs. Place second
center brace (C) over first and loosely attach adjoining corners to table legs,
using two flat washers (F), two lock washers (H) and two hex nuts (G).
3. Place third center brace (C) over adjoining corner of second brace and loosely attach,
using two flat washers (F), two lock washers (H) and two hex nuts (G).
4. Place fourth center brace (C) over adjoining corner of third brace and loosely attach,
using two flat washers (F), two lock washers (H) and two hex nuts (G).
5. Place remaining corner of fourth center brace over first and loosely attach,
using two flat washers (F), two lock washers (H) and two hex nuts (G).
6. With all four center braces in place, tighten fasteners to secure each brace to table legs.
7. Place table assembly upright.
Your table is now ready to use.
ASSEMBLY INSTRUCTIONS
D
B
Install Center Braces
E
(8-places)
G
H
F
E
2
G
H
F
C
Second Brace
C
Third Brace
C
First Brace
C
Fourth Brace
A
