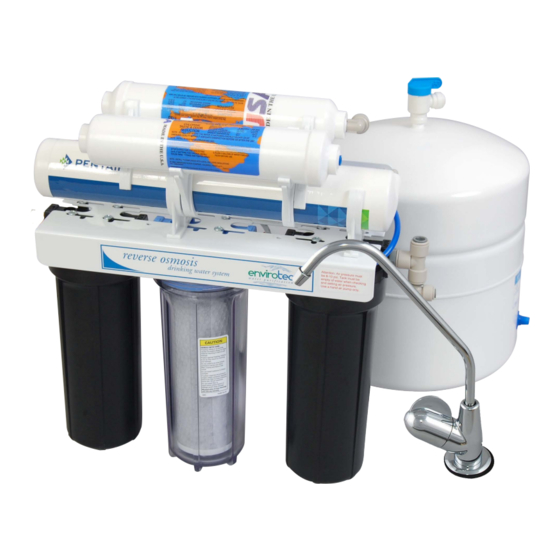
AmeriFlow Water Systems Inc. ET6500GRO Gebruikershandleiding - Pagina 7
Blader online of download pdf Gebruikershandleiding voor {categorie_naam} AmeriFlow Water Systems Inc. ET6500GRO. AmeriFlow Water Systems Inc. ET6500GRO 15 pagina's. Reverse osmosis systems

FIGURE 2
as possible and that there are no dips, loops, low spots or kinks.
Also, to reduce noise, assure that RO drain line enters the vertical pipe from a direction other
than the direction of entry of the garbage disposal pipe.
SINK WITHOUT DISPOSAL
Best choice is the vertical pipe about 4" above the water level in the trap.
To Install Drill a 3/8" hole through one side of the drainpipe. Align the hole in the drain clamp
with the hole in the drainpipe. Tighten down the drain clamp snuggly so it will not move on
drain pipe.
STEP 5 STORAGE TANK PREPARATION
1. Wrap the threads on top of the tank with 6 3wraps of Teflon tape
pipe
compounds).
2. Screw tank ball valve onto the top of the tank (approximately 4 to 5 full turns - do NOT
over-tighten). Check for leaks once RO is pressurized and while tank is filling and again
when tank is full.
3. Tank is pre-charged with air pressure. Tank can be laid on its side if necessary (tank will
hold approximately 2 to 3 gallons of RO water depending on water pressure, tank position-
ing, and tank air pressure).
4. Tank pressure can be increased to improve water flow to the faucet or refrigerator. Air
pressure can only be tested when tank is completely empty of water. Air pressure of 5-PSI
minimum, 12-PSI maximum is recommended. The higher the air pressure the smaller the
volume of water the tank will hold. Pressure of 10-12 PSI may be necessary to feed a line
to the refrigerator. Over pressurizing may ruin the tank.
STEP 6 TUBING CONNECTIONS
IMPORTANT: Fitting manufacturer requires fittings to be re-checked after system reaches
full operating pressure and temperature, Re-tighten and secure as necessary.
1. ¼" White Supply Tube on Filter Pac/RO module Connect the supply (white) tube firmly
into the push-in port on the side of the easy tap adapter installed on the cold water supply
line.
Optional If self-piercing valve is used, connect to valve using brass nut, tubing sup-
port, and ferrule, (not included).
2. ¼" red Drain Tube on FilterPac RO Module
from the parts bag to connect the ¼" red drain tube from the faucet to the red tube from
Filter Pac/RO Module.
of coupler or leak.
(See C in Figure 2 on page
C
Red line connects to RO drain line
Faucet supply from RO system
D
NO DIPS
in LINE
(See D in Figure 2
Air-Gap faucet system
6). Push firmly so tubes will not pull out
above).
(do not use any type of
Use the coupler
07\15 RO Manual
6
