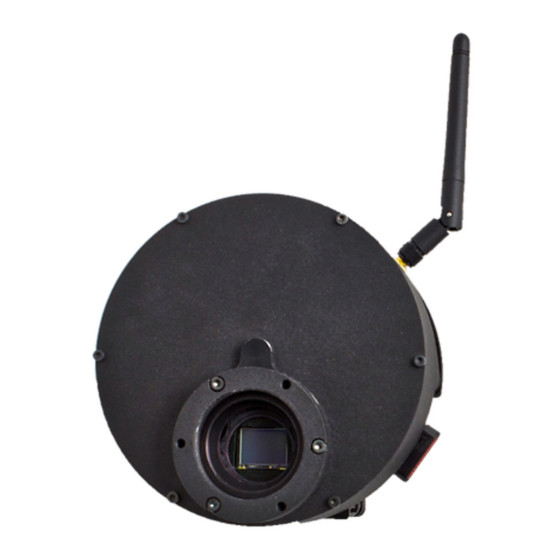
Astrel Instruments AST-8300-B Stap voor stap handleiding - Pagina 3
Blader online of download pdf Stap voor stap handleiding voor {categorie_naam} Astrel Instruments AST-8300-B. Astrel Instruments AST-8300-B 6 pagina's. Mounting filters

Astrel Instruments
WARNING:
Do all the operation in a clean and dry ambient.
1. Set-up the camera control: the best is to use a PC (via ETH cable or WIFI through the
WIFI dongle on USB FS port)
2. power on the camera and wait for boot completion
3. remove the three screws that fix the metal ring around the optical window, then remove
the ring
WARNING:
Before removing the metal ring take note of its orientation with respect to the
camera: after the filters mounting it must to be positioned as it was originally in order to
maintain the correct parallelism between the CCD and the Telescope optics.
4. before opening the air valve to remove the vacuum, always insert the vacuum pump into
the camera air valve and make vacuum on the connecting tube: using the vacuum pump
to fill air into the camera helps to avoid the air water vapor to condensate into liquid water
inside the camera
5. open the air valve
6. remove the vacuum by lightly pressing the button below the nose of the vacuum pump
7. remove the optical window and the o-ring. Depending on the camera release date, there
could be one o-ring between the metal ring and the optical window: if present remove it,
then carefully remove the optical window, and finally remove the o-ring under it, so that
you can access the filterwheel.
Each filter is blocked by one or two plastic caps fixed by a screw and if needed also a plastic
ring, depending on the filter's thickness; refer to the following picture to select the proper way to
Mounting Filters UG
3/6
AST-8300-B
rev E
