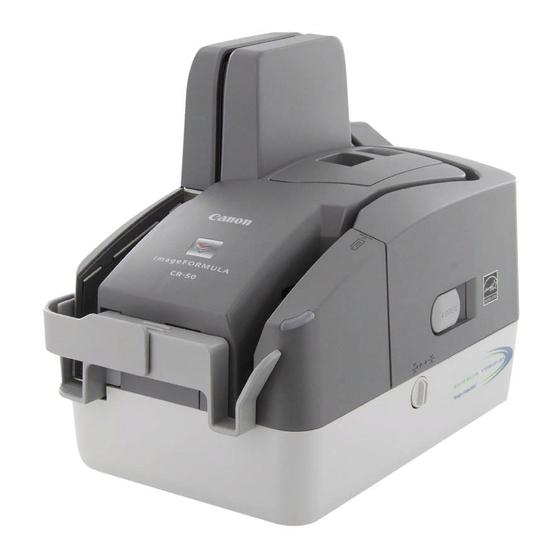
Canon imageFORMULA CR-80 Installatiehandleiding - Pagina 14
Blader online of download pdf Installatiehandleiding voor {categorie_naam} Canon imageFORMULA CR-80. Canon imageFORMULA CR-80 21 pagina's. Check reader
Ook voor Canon imageFORMULA CR-80: Bedienings- en onderhoudshandleiding (24 pagina's)

Connecting the Power Cord
Connect the power cord.
Make sure to use only the power cord provided with the scanner.
WARNING
When connecting the power cord, follow these precautions.
Failure to do so may cause a fire or electrical shock.
• Never grasp the power plug when your hands are wet.
• Never plug the scanner into a multiplug power strip.
• Never bundle or tie the power cord around itself or another
object. Connect the power plug securely into the power outlet.
• Use only the power cord and power plug provided with the
scanner.
• Before you connect the power cord, make sure to turn OFF the
power switch.
• Connect only to a power outlet of the rated voltage and power
supply frequency (either 120 V, 60 Hz or 220-240 V, 50/60 Hz,
depending on your region).
• Do not plug the scanner into a power outlet shared with another
device. If you use an extension cord, make sure that the
extension cord is rated for the current requirements of the
scanner.
Turning ON and OFF the Power
Follow the procedures below to turn the scanner power ON and OFF.
Turning ON the Power
1
To turn ON the scanner, slide the Power Switch to the
right.
(ON)
IMPORTANT
• When you turn ON the power, the power LED lights and remains
lit.
• If the scanner does not work, there is a problem with the
scanner. Turn OFF the power, and contact your local authorized
Canon dealer or service representative to have the scanner
serviced.
WARNING
If you hear strange sounds, detect smoke or abnormal heat,
sense a vibration, or smell odd odors around the scanner,
turn OFF the power immediately and disconnect the power
cord from the power outlet. Contact your local authorized
Canon dealer or service representative to have the scanner
serviced.
2
Turn ON your computer.
14
